Powershell Functions in Azure the easy way
Introduction
Today is a fantastic day! Powershell in Azure Functions v2 has entered public preview. This means that Powershell is finally becoming a first class citizen in Azure Functions.
9 months ago I wrote a blogpost on how to import any module to Azure Functions: Powershell Modules in Azure Functions. That method worked well on Azure Powershell Functions v1, where you had to have a module folder for each function, giving you a lot of redundant code.
Furthermore that method automatically updated the modules, when the function was restarted. This might be a cool feature in regards to security, but in regards to stable running code it turned out to be less practical.
Powershell Azure Functions v2
Powershell Azure Functions v2 has fixed the issues of sharing modules between functions. In combination with VS Code and the Azure Tool plugin, you can deploy your code with 99.95 % uptime in a few minutes. This blogpost will go through all the steps required.
Requirements
- An Azure tenant
- An Azure subscription
- Some cool code to run
Everything in this blog is done in VS Code. If you haven’t installed that yet, you could start by installing Chocolatey and then VS Code like this:
# Run this in an elevated PS to install Chocolatey:
Set-ExecutionPolicy Bypass -Scope Process -Force; iex ((New-Object System.Net.WebClient).DownloadString('https://chocolatey.org/install.ps1'))

# When done, run this to install VS Code:
choco install vscode
Install the extensions
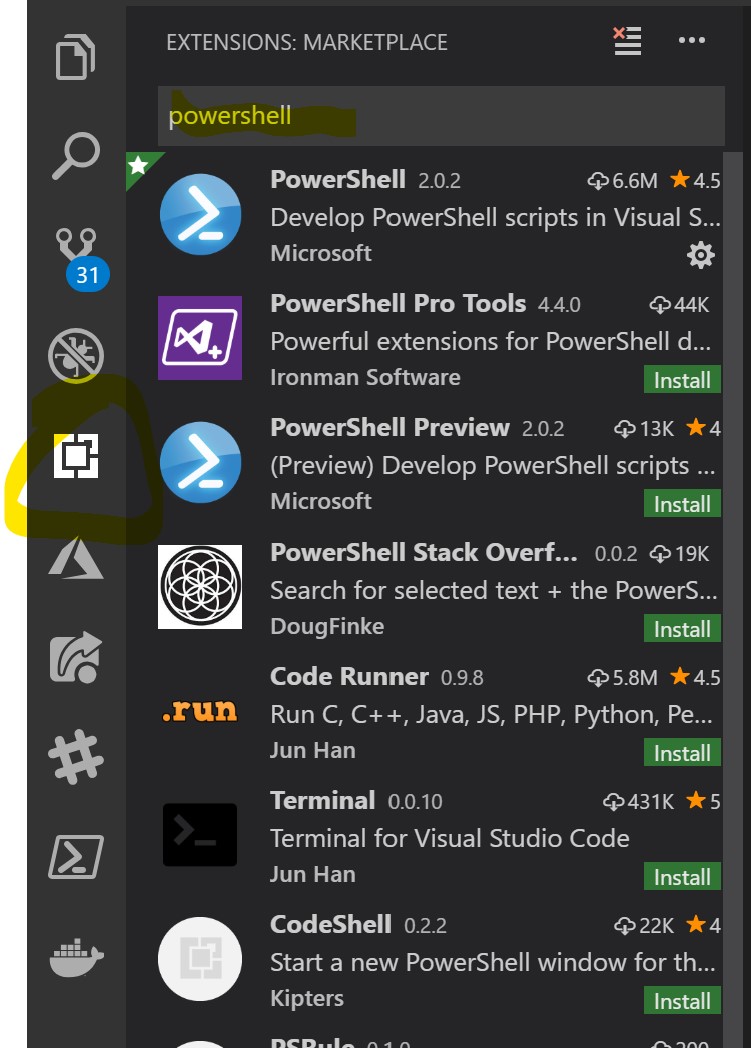
Start up your VS Code. Since we are going to code some powershell, we want to install the Powershell extension. Everything you need to know about Extensions can be found here, but for now just click the extension icon and search for Powershell:
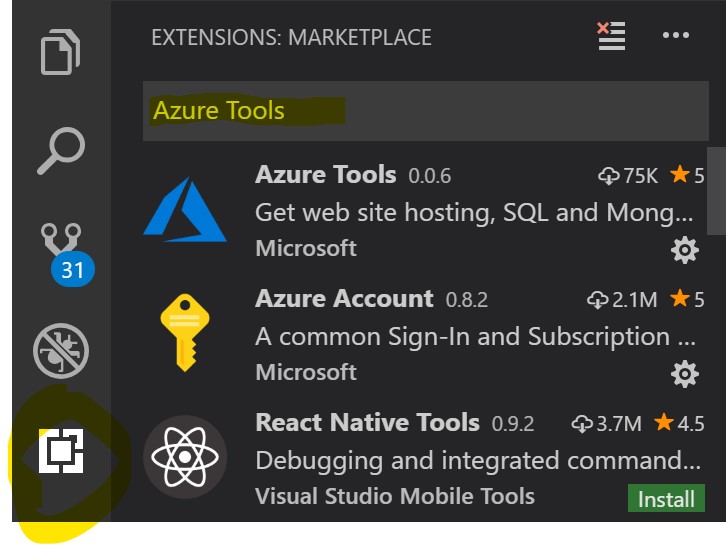
and install the Azure Tools extension as well:
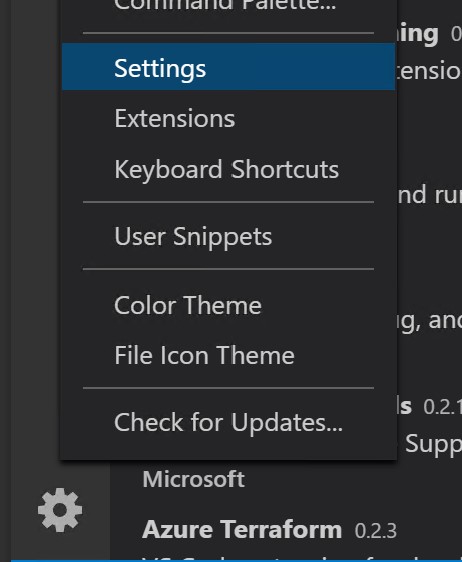
In order to create Powershell functions from Azure Tools, you need to tweak it a bit. Click the gear icon and choose Settings:
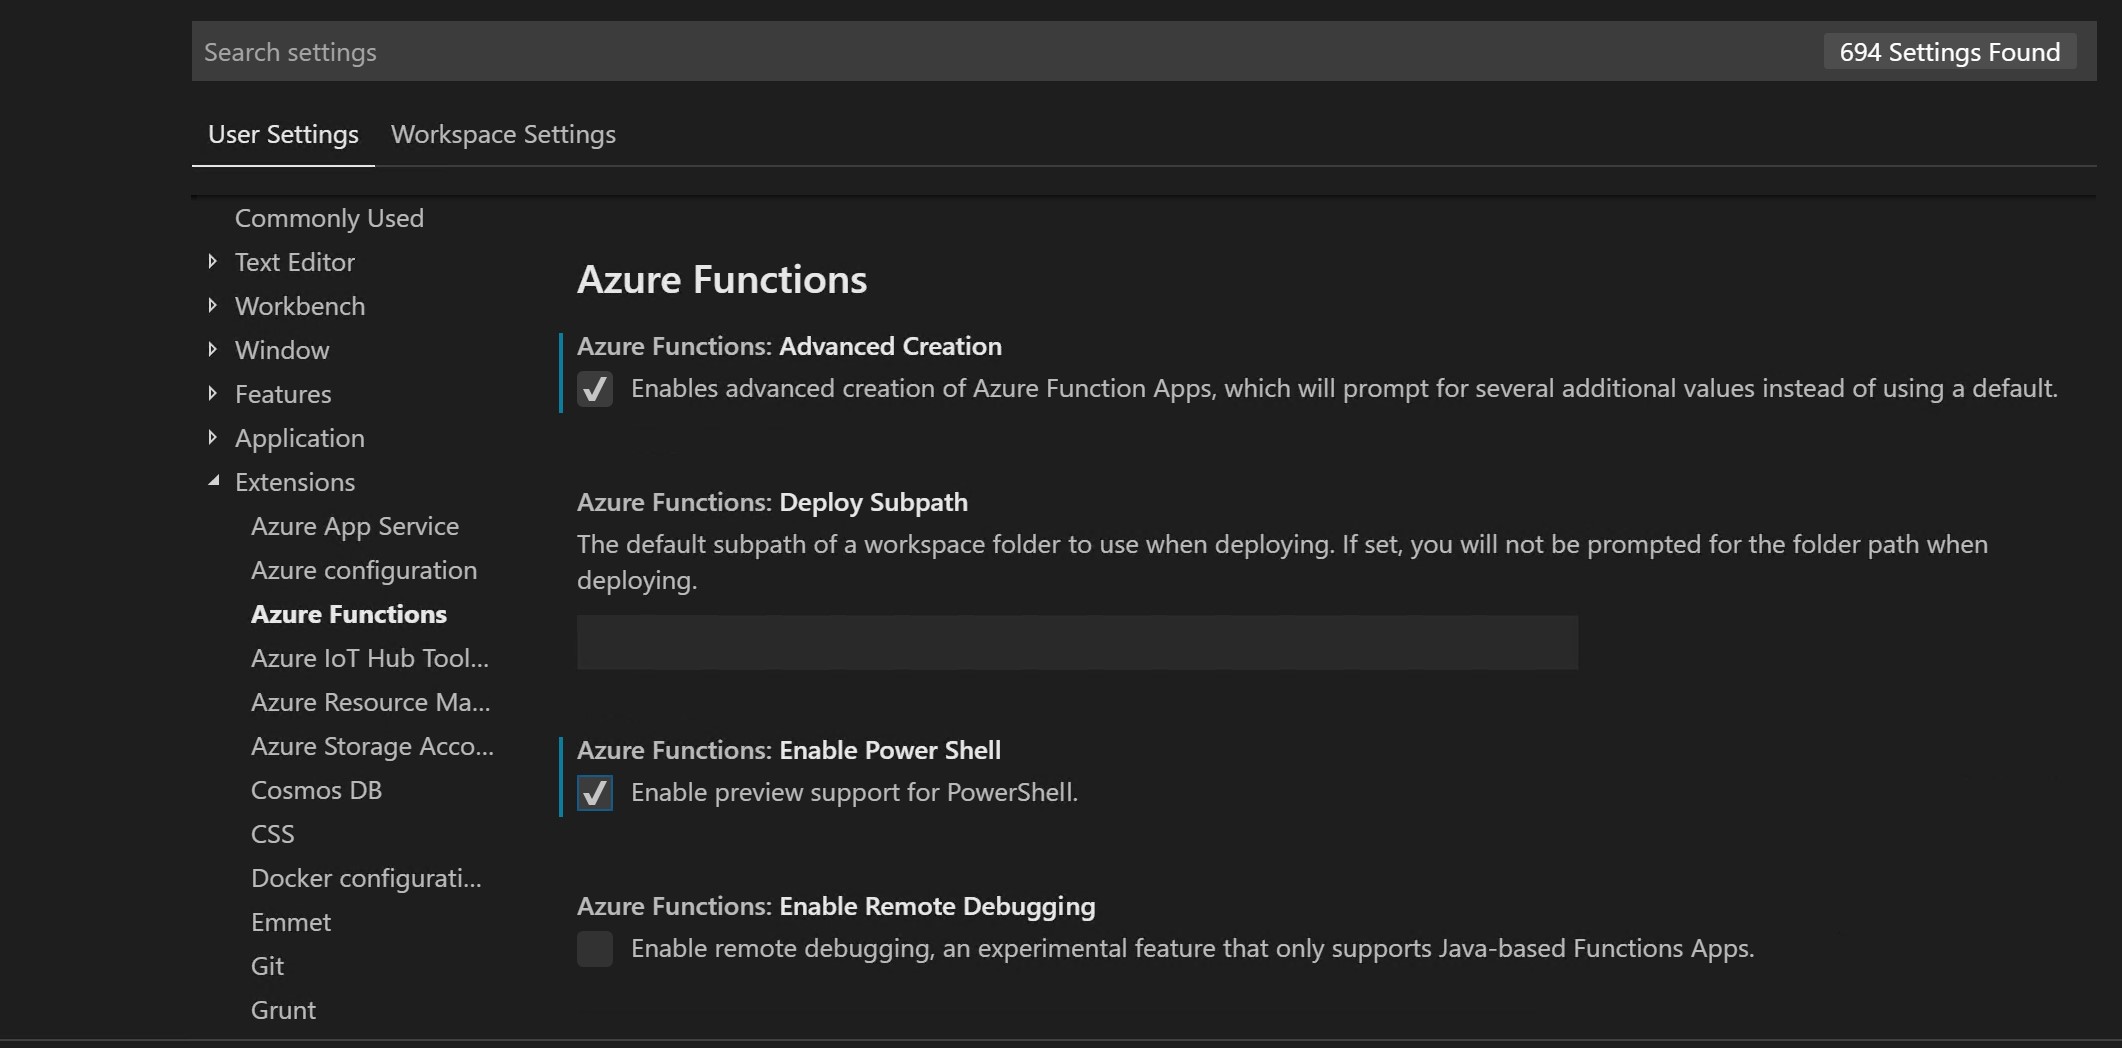
Go to Extensions -> Azure Functions and enable “Advanced Creation” and “Enable Power Shell”:
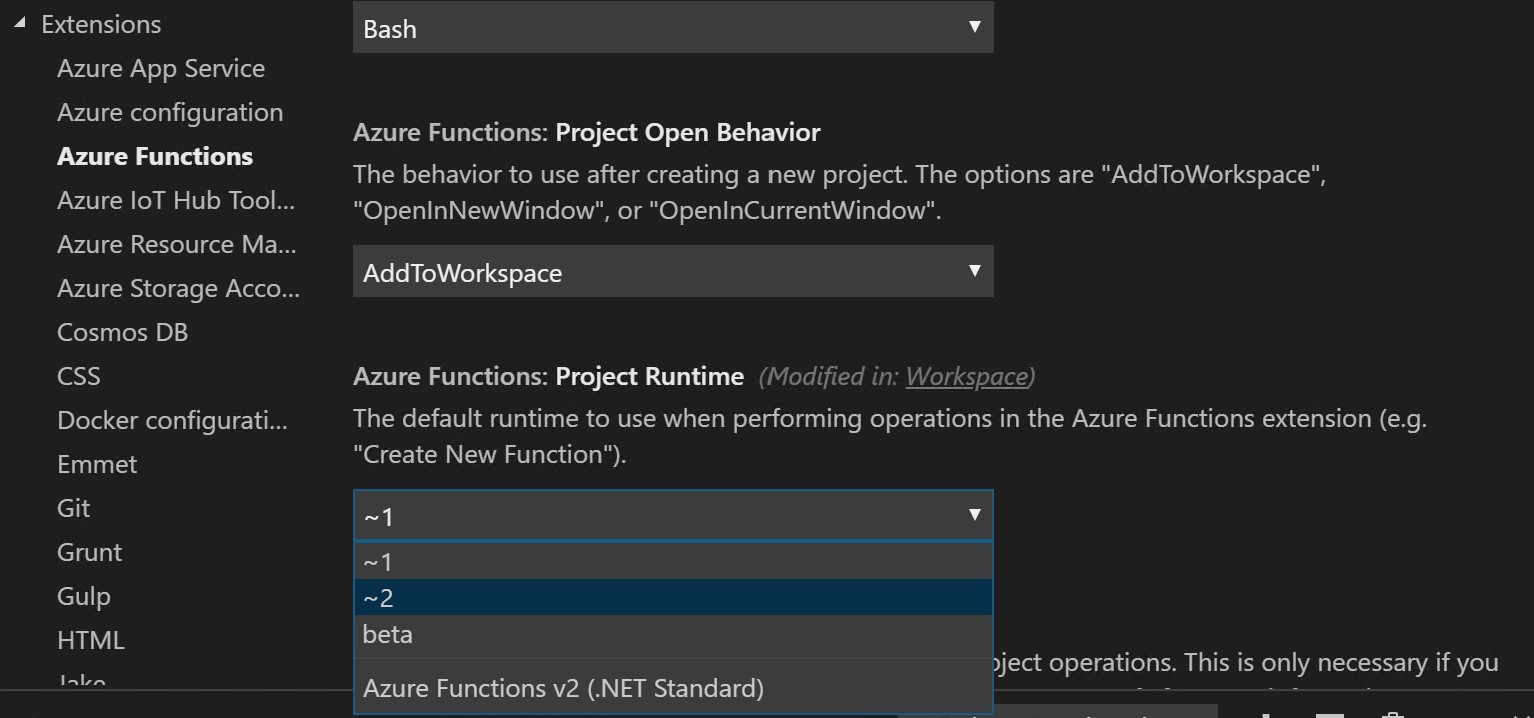
Scroll down a bit to Project Runtime and change that to ~2:
Connect to Azure
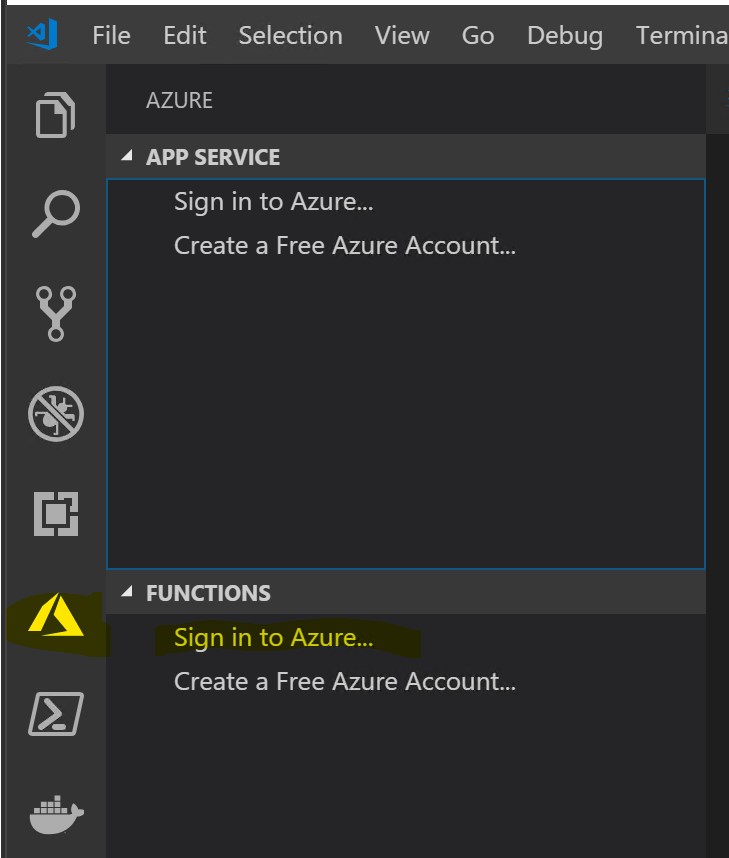
Click on your Azure extension and choose “Sign in to Azure”. The account you use needs to have contributor access to at least 1 subscription:
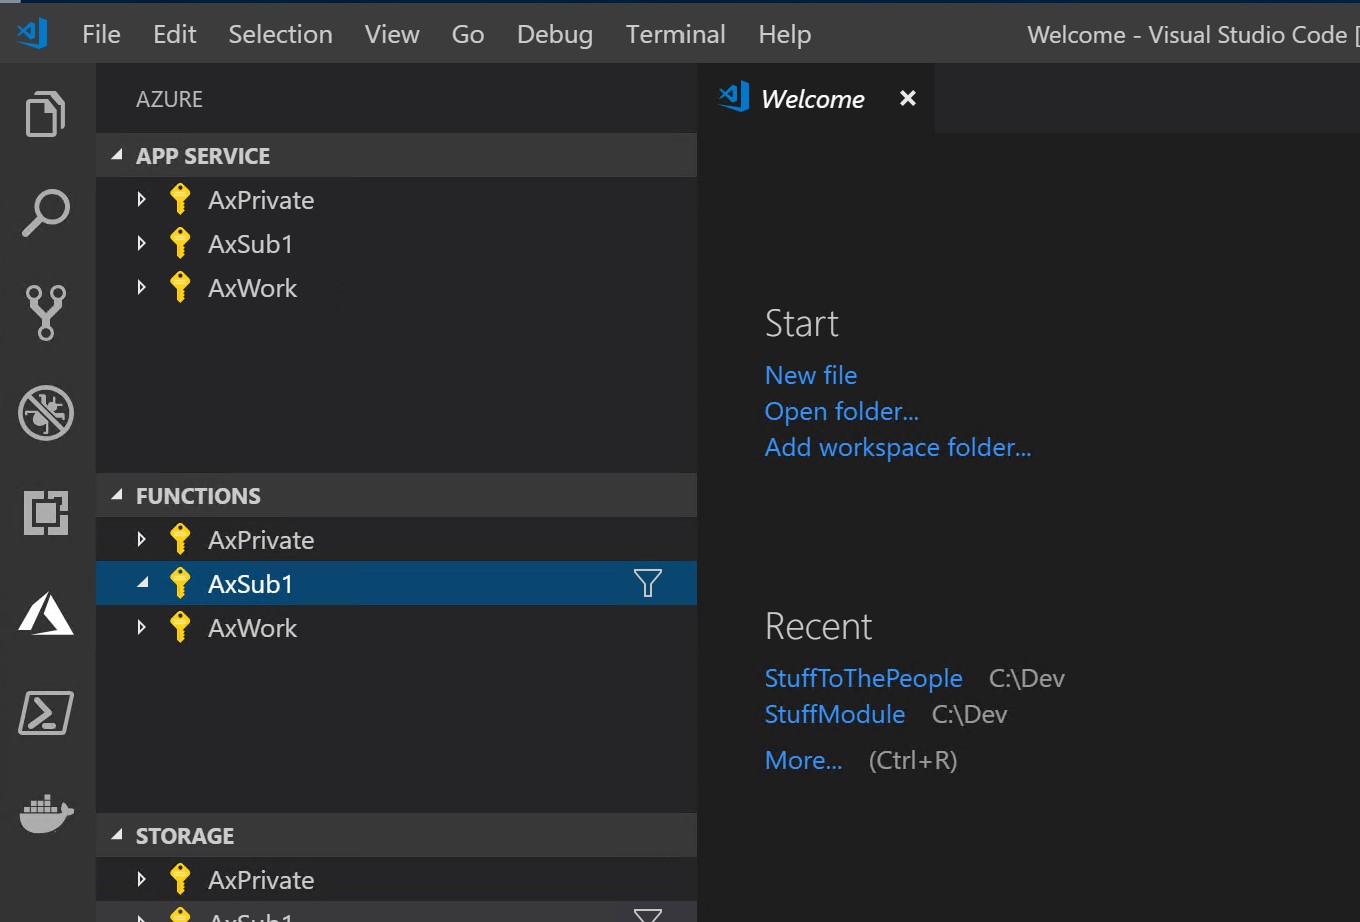
Your browser will open and you need to sign in. Once signed in, you will see all the subscriptions your account has access to:
Create a project
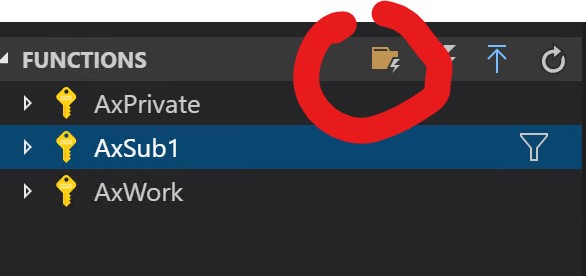
Now that your dev environment is set, go ahead and click the New Project button:
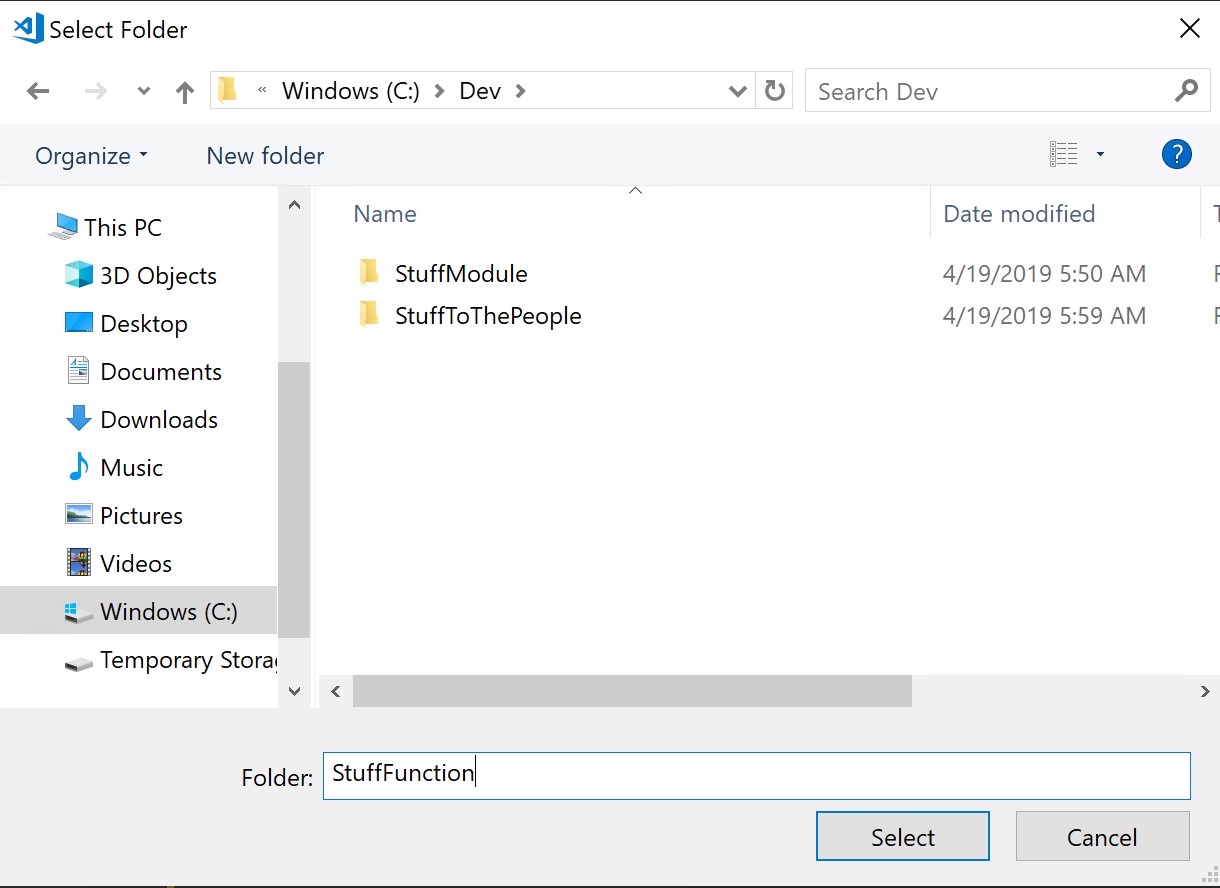
Select a name and a location (the folder you choose needs to exist for now):
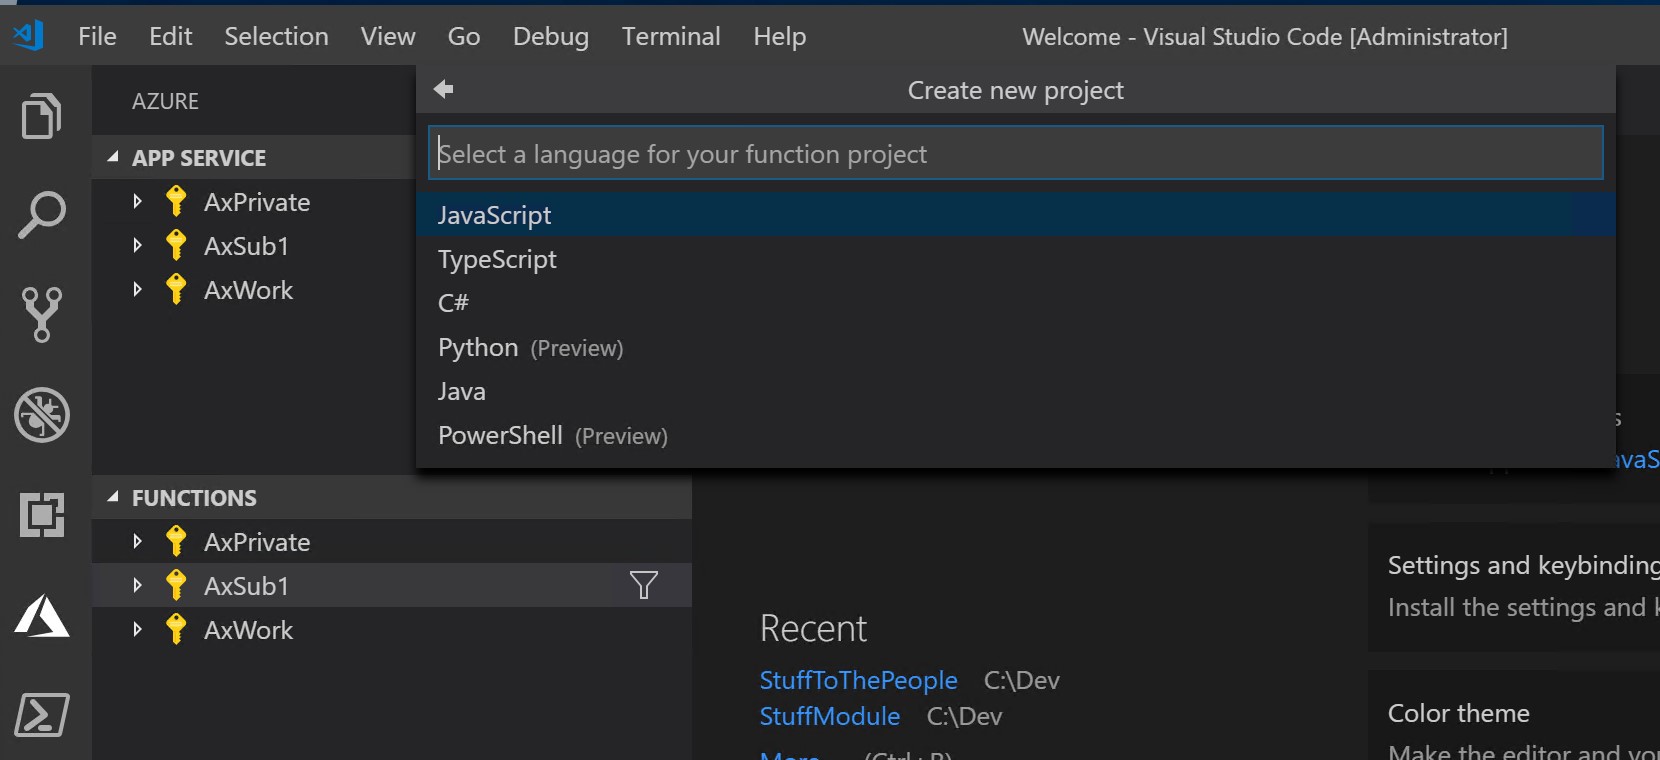
VS Code starts building the scaffolding for your project and you need to supply additional information. First off you choose PowerShell (Preview) as the language:
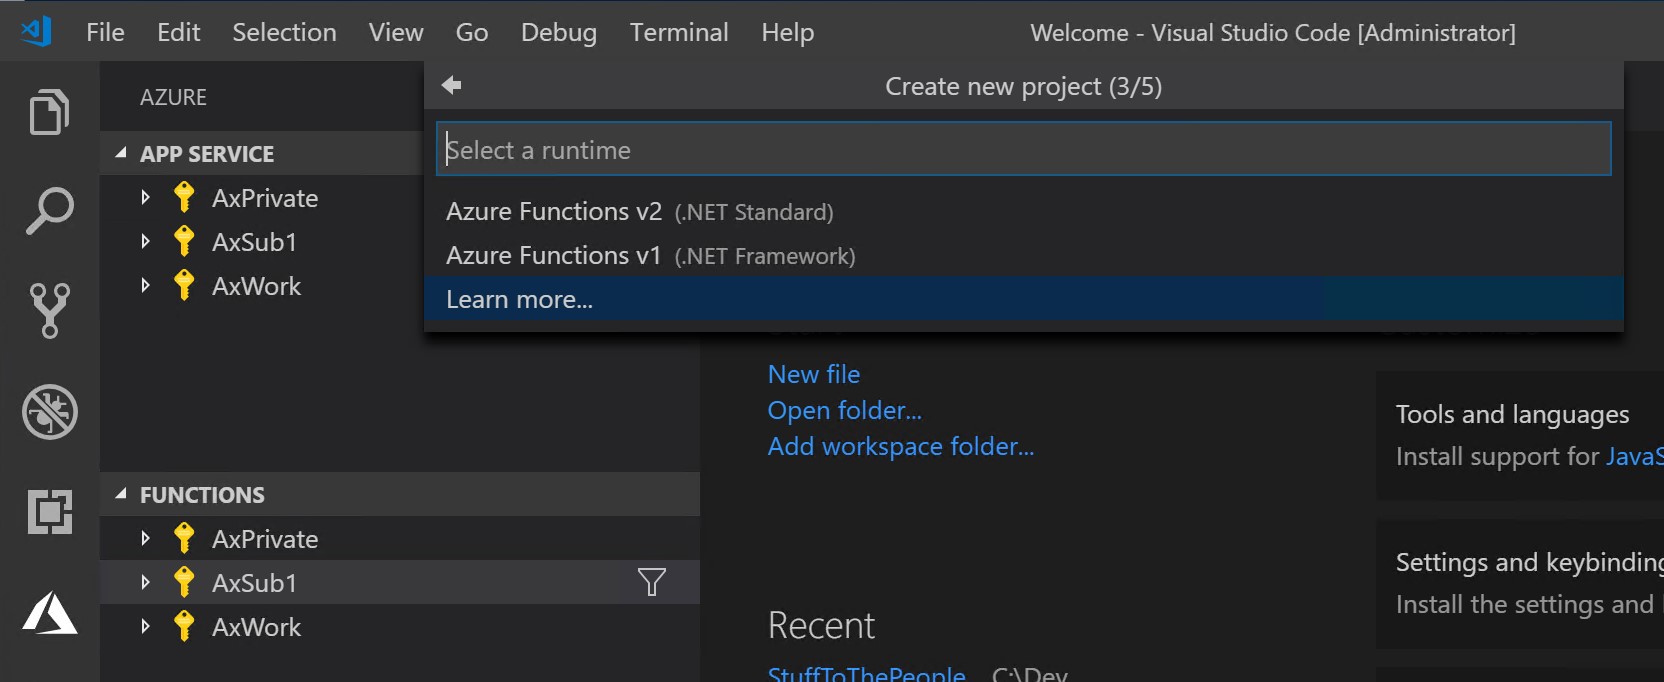
Then you choose Azure Functions v2 (.NET standard):
Select a trigger. This can be omitted, but for this demo choose a HTTP trigger:

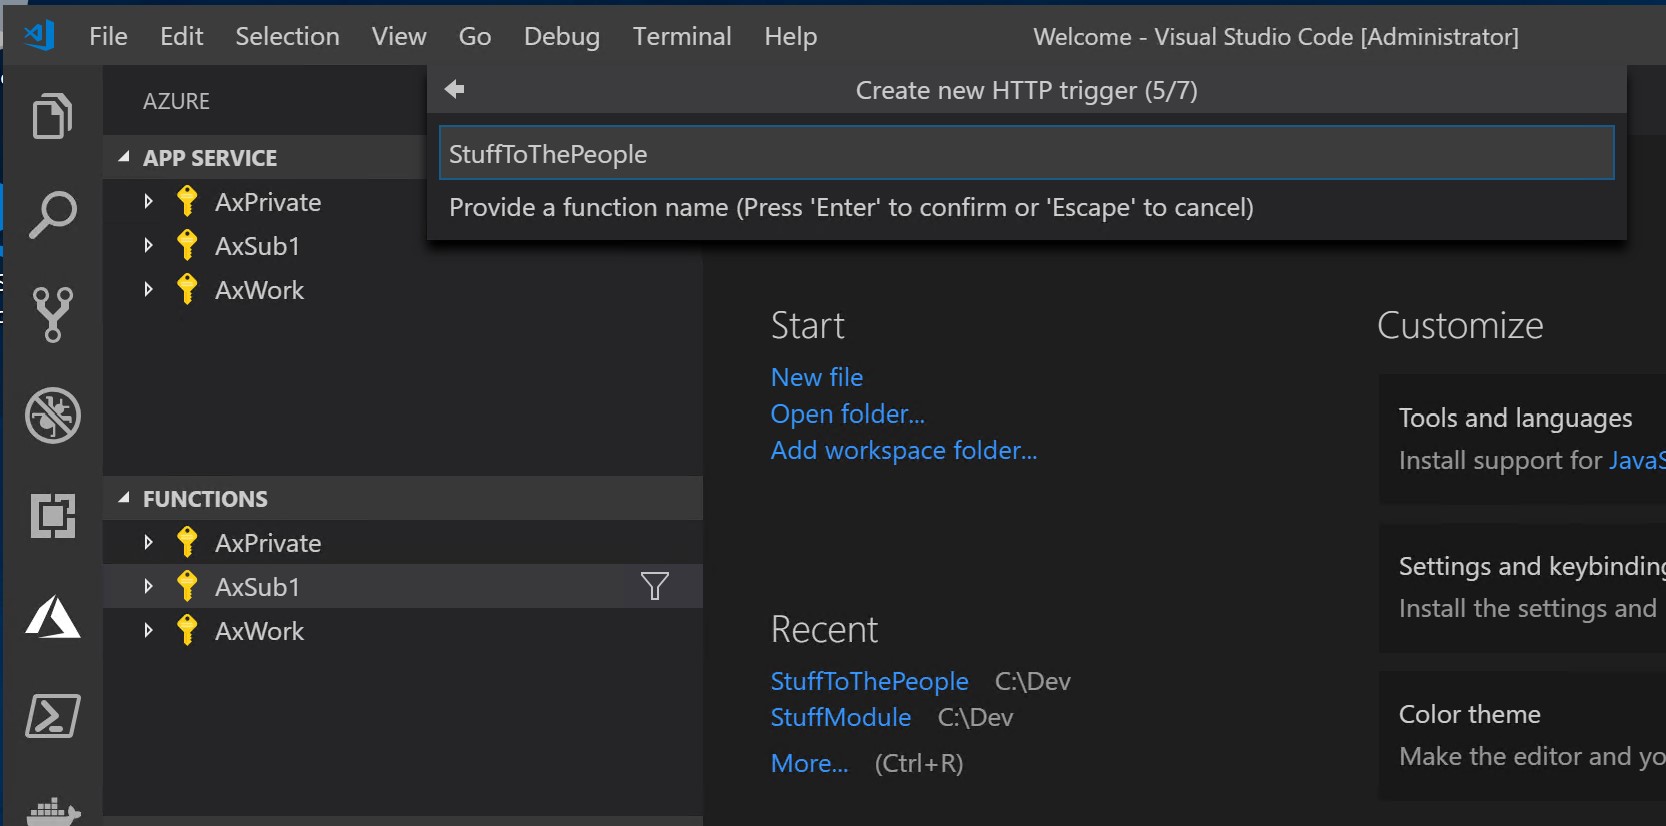
Give your trigger a meaningful name - HTTPTrigger1, etc. is kind of hard to differentiate):
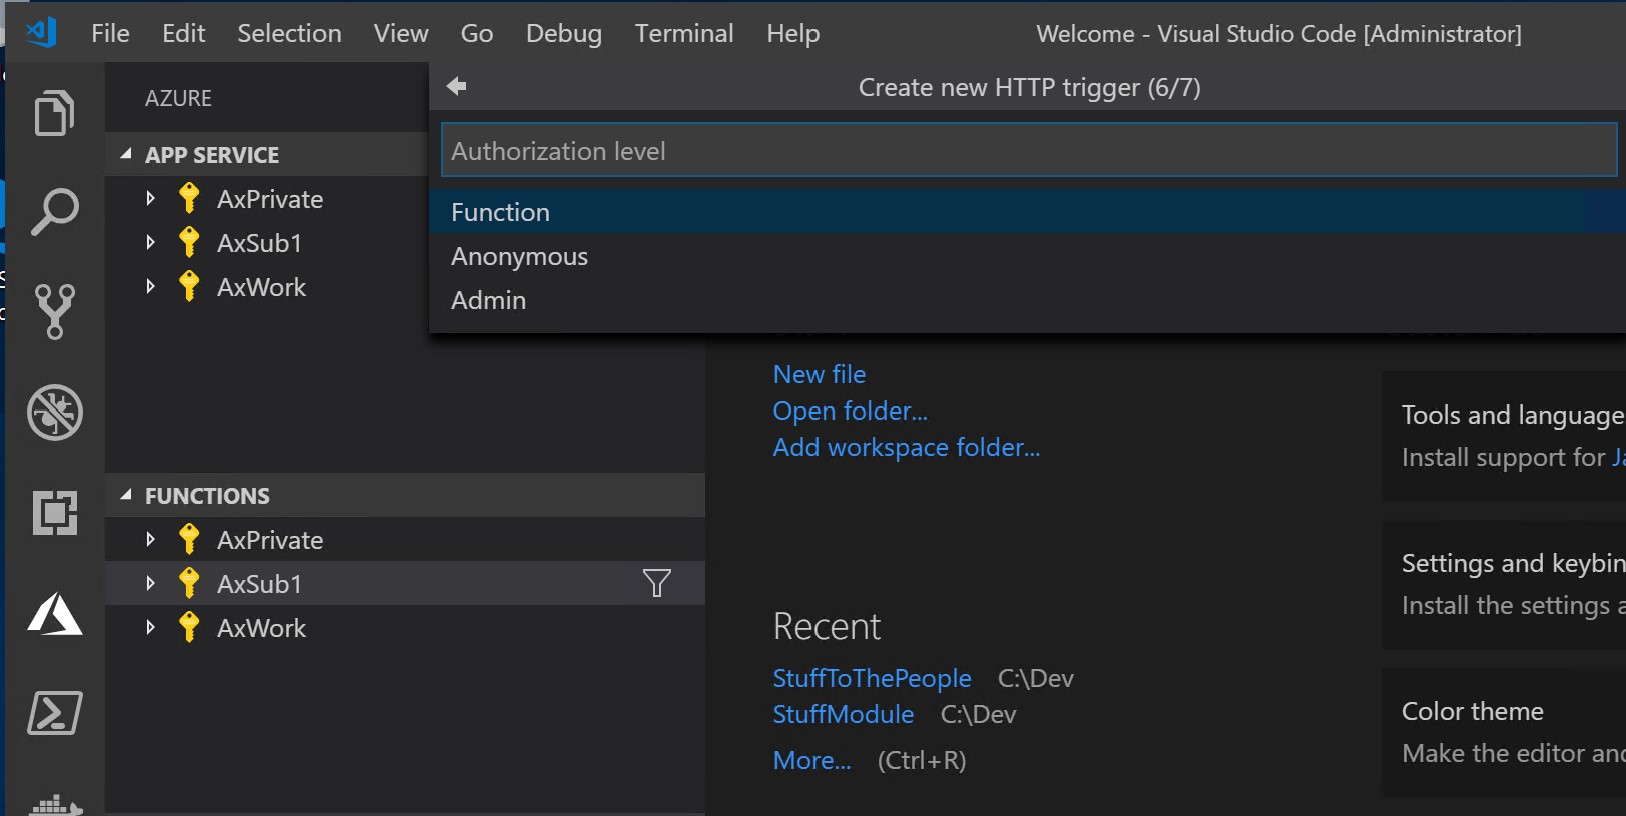
Now you have to choose an Authorization Level.
-
Anonymous gives you a clean URL that everyone can use.
-
Function adds an API key for more secure access
-
Admin lets you use the same key for multiple triggers
For this demo choose Anonymous:
Open your new project in a new windows (never hurts to have several VS Code windows open):
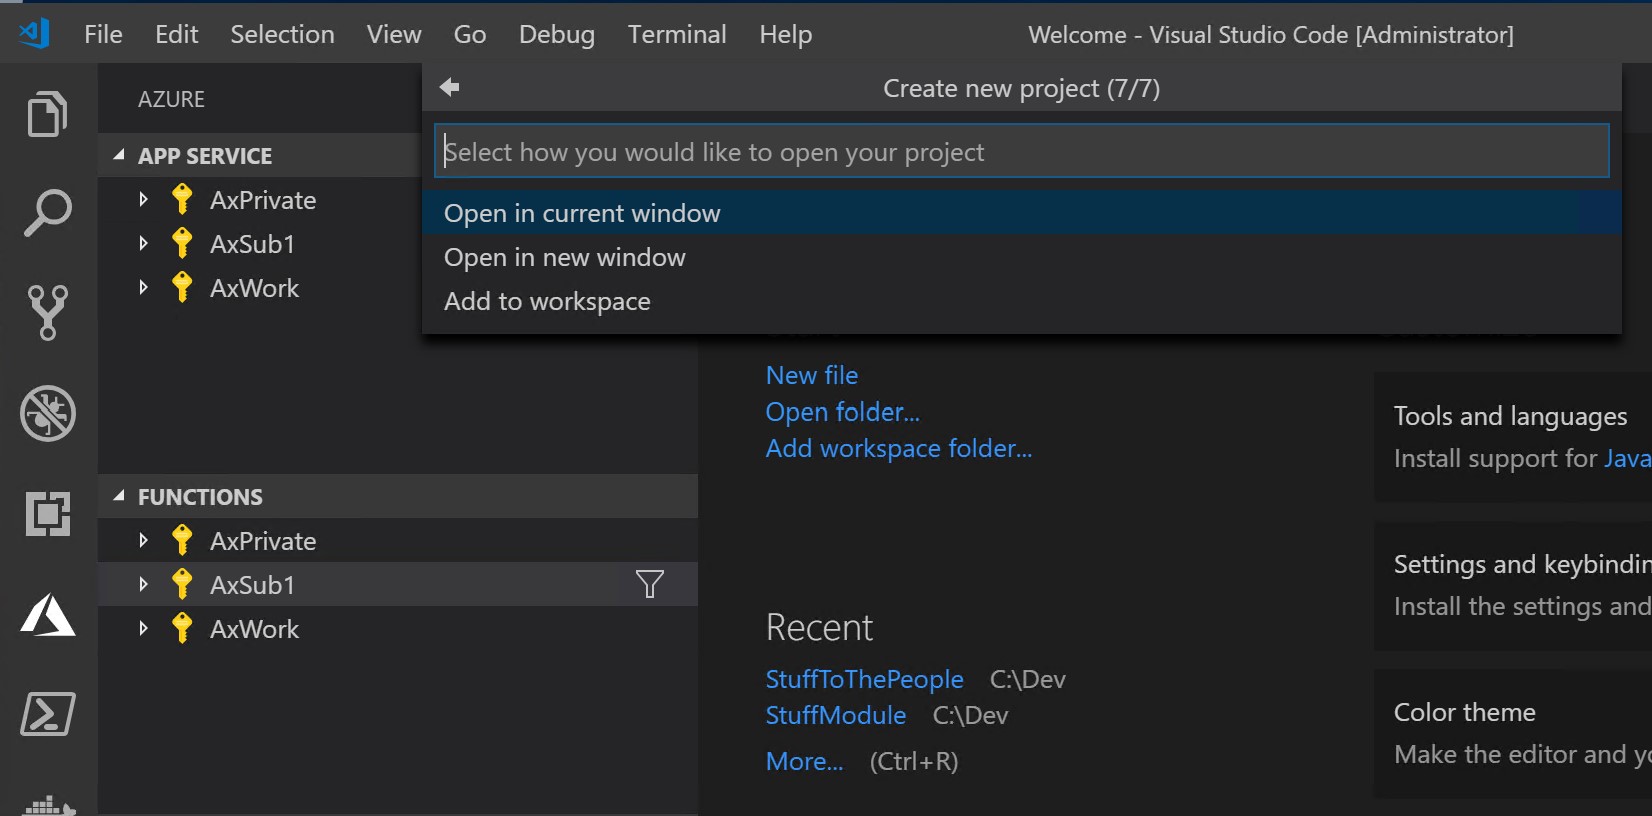
In the new VS Code window you can now see everything required to run your new project:
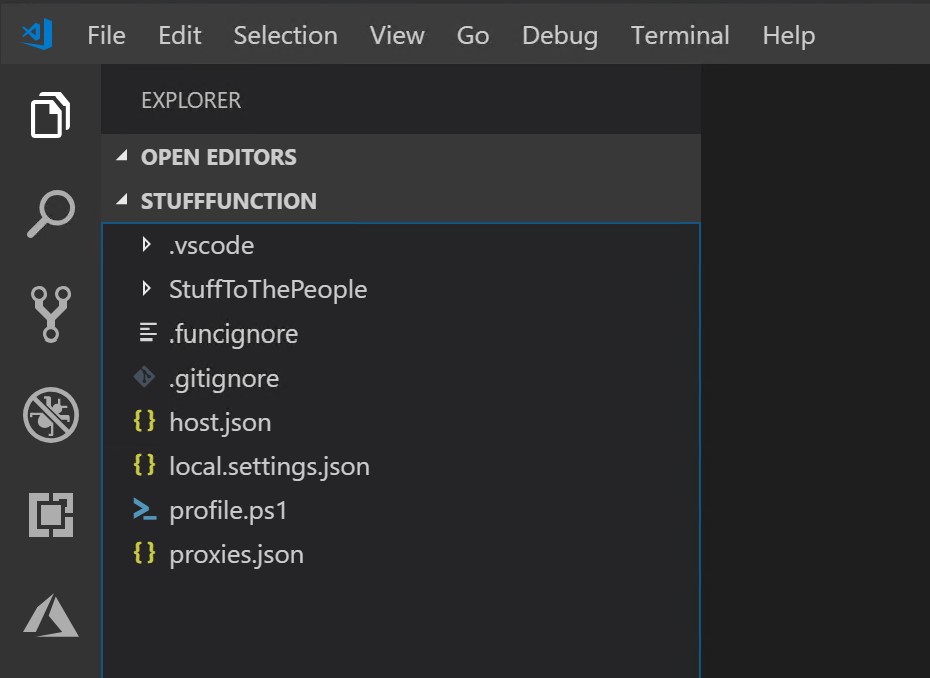
The scaffolding files
For the purpose of this demo we are just going to focus on the files in the trigger folder. This is where you are going to write your code. Every trigger folder has a run.ps1 and a function.json file.
function.json
The function.json file contains info about your trigger:
{
  "bindings": [
    {
      "authLevel": "anonymous",
      "type": "httpTrigger",
      "direction": "in",
      "name": "Request",
      "methods": [
        "get",
        "post"
      ]
    },
    {
      "type": "http",
      "direction": "out",
      "name": "Response"
    }
  ]
}
authLevel and type were defined during creation of the project.
Direction is pretty obvious. When you call the trigger Url, direction is in. This trigger delivers a variable to the function called Request.
The trigger can be called with get or post methods.
The out direction produces a Response containing whatever you put in the Response variable in your function.
run.ps1
The run.ps1 file contains your function code. This is your script file.
The scaffolding file is pretty well documented. The only thing you need to take care of, is to add a proper HttpStatusCode to the body you want to deliver out of the function (if any).
This needs to be pushed to the Response variable for everything to work.
.vscode settings.json
Since we do not have any pre-deploy tasks for this demo, we need to go to the settings.json file in the .vscode folder to delete a single line, if we want to avoid a warning when deploying. Simply delete this line and hit Save:
"azureFunctions.preDeployTask": "func: extensions install",
Deploy the code
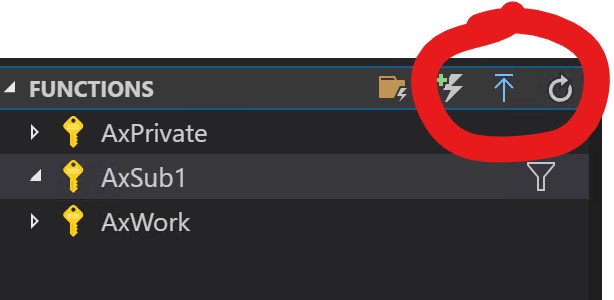
To deploy the scaffolding code just click the Deploy button:
Start by selecting the Subscription you want to create your function in:
Select Create New Function App in Azure:

This takes you through a 5-8 step guide, that takes care of a lot of clicks in the Azure Portal. If you have an existing resource group and storage account, there are only 5 steps, if you need to create these resources, there will be 8.
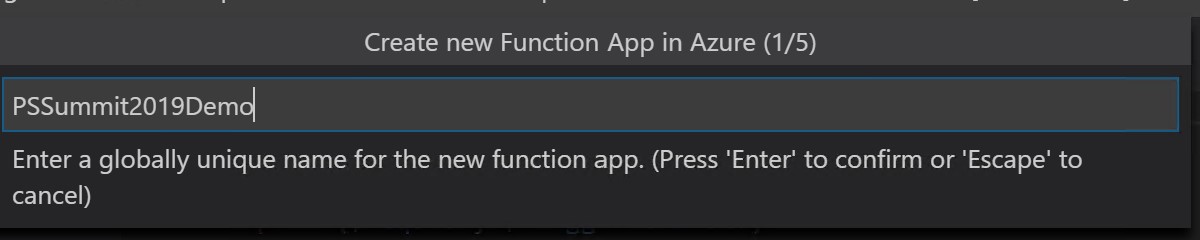
First give your Azure Function a name. One Azure Function can hold several functions, so your name should be something more general then the name for the specific function you are about to deploy:
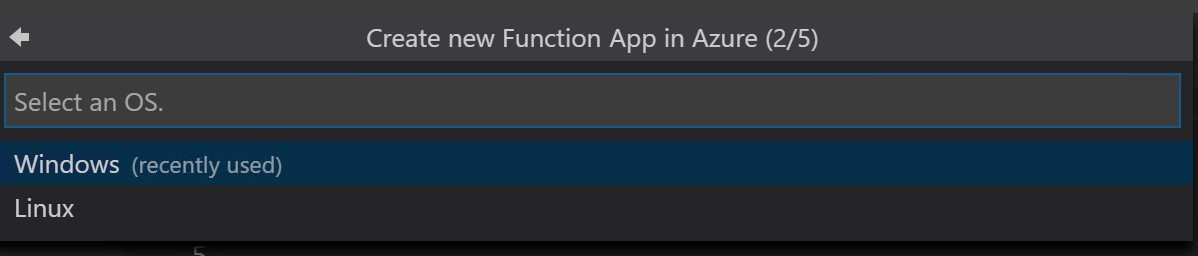
Select an OS. Powershell runs everywhere, but for for Azure Functions running PowerShell only Windows will do for now:
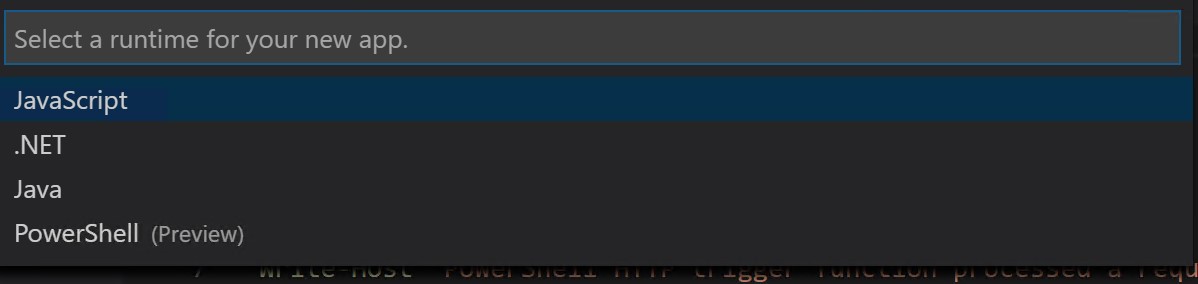
Choose your Runtime - PowerShell:
Create a new Resource Group for your project:

And add a Storage Account to your new Resource Group:

Finally select a Location for your new resources:
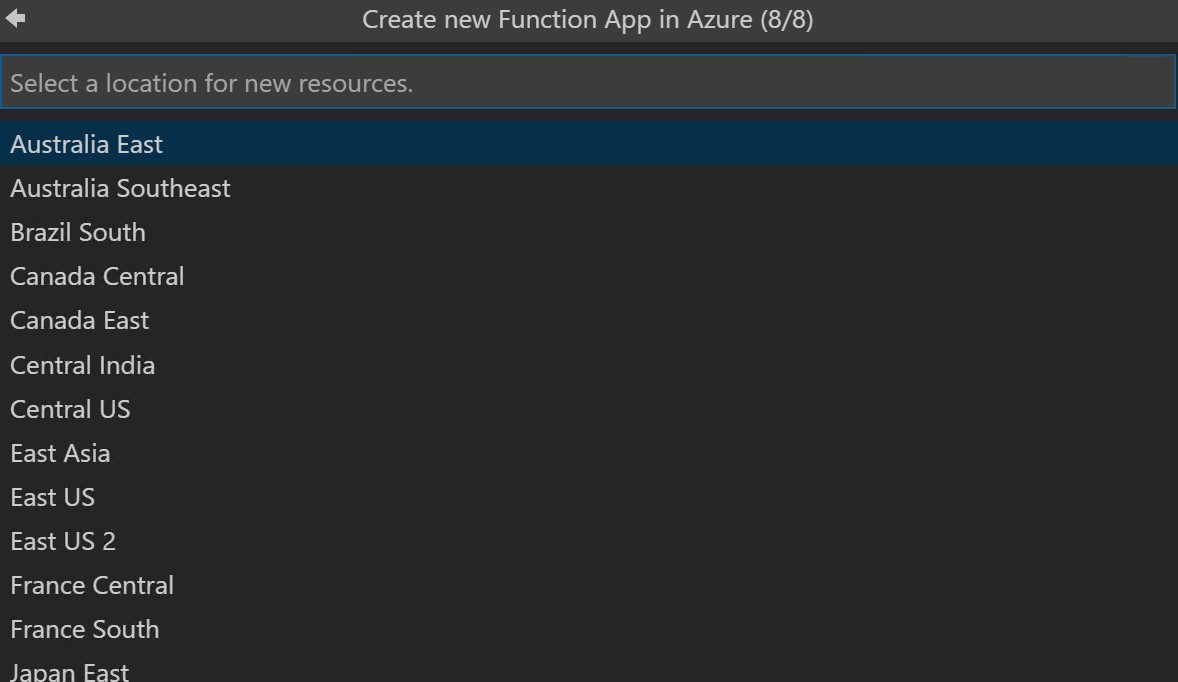
Your Azure Function will be created in a few minutes:
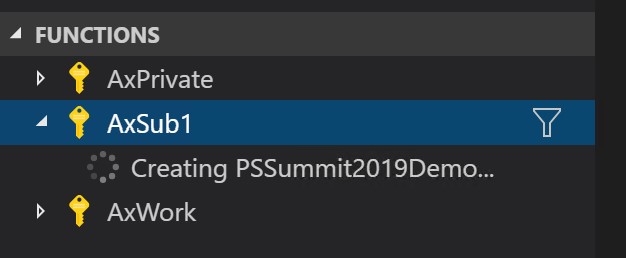
In 8 easy steps you have now created a new resource group, a new storage account and a new function in Azure without ever leaving your development environment:
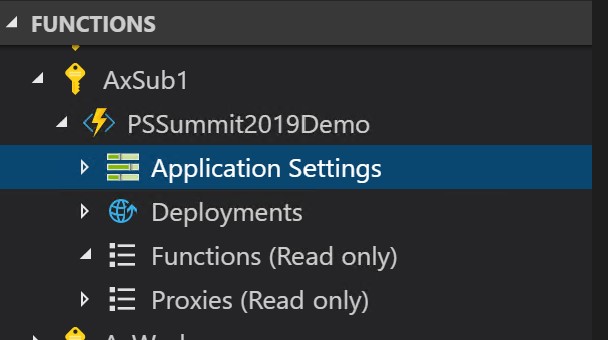
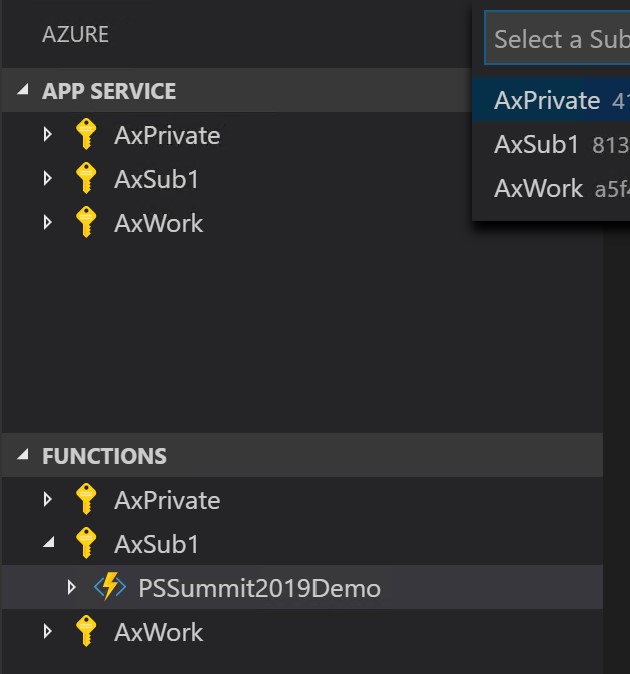
Run the function
Now that your function is deployed, get the function Url and test it. Start by right-clicking your function and choose Copy Function Url:

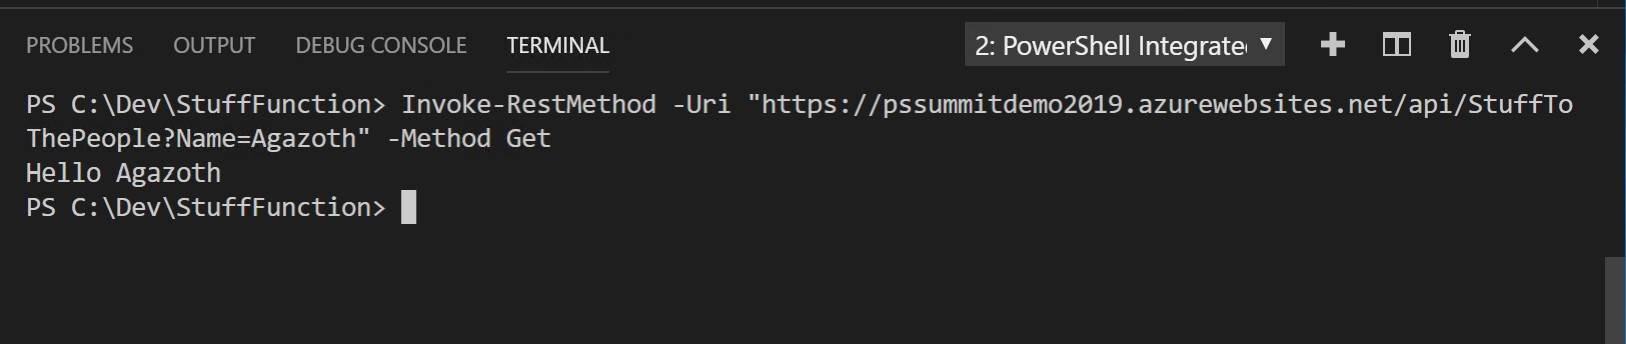
Open a new shell or use the Powershell window in VS Code to call the Url. Remember to add some a Request body either by posting a body or by appending a Name to the Url like this:
Invoke-RestMethod -Uri "https://pssummitdemo2019.azurewebsites.net/api/StuffToThePeople?Name=Agazoth" -Method Get
And you will se, that your function returns the example code:
Adding modules to your function
In the previous version of Azure Functions for Powershell you either had to add a module folder for each function in your Azure function or you could hack the PSModulePath variable.
The first solution gave you redundant modules and administrative overhead, the second method re-imported the modules you used every time the Azure Function was restarted, which introduced possible breaking changes to your code.
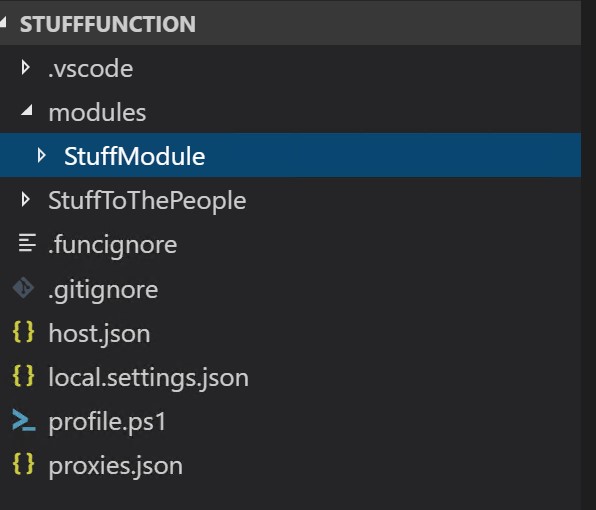
In Azure Functions v2 you can place the modules folder at same level as your Functions. That will make the modules in the modules folder available in all your functions.
To demonstrate this, place any module in a modules folder. You can use any official module from Microsoft found in your Modules path on your machine or create your own custom module and place it here:
The module in this example contains the ground-breaking function Get-Stuff:
function Get-Stuff {
    [CmdletBinding()]
    param (
        [Parameter(ValueFromPipeline = $true)]
        $Stuff)
    begin { }
    process {
        foreach ($s in $Stuff) {
            try {
                [PSCustomObject]@{
                    Name = $s.ToString()
                    Type = $s.GetType().FullName
                }
            }
            catch {
                # not interested in stuff that does not do ToString
            }
        }
    }
    end { }
}

Now go to your run.ps1 file and adjust it to use the module. It could look something like this:
using namespace System.Net

# Input bindings are passed in via param block. Must be there if you have a Name in your function.json
param($Request, $TriggerMetadata)

$body = Get-Module -ListAvailable | Get-Stuff | Convertto-Json

# Associate values to output bindings by calling 'Push-OutputBinding'.
Push-OutputBinding -Name Response -Value ([HttpResponseContext]@{
    StatusCode = [HttpStatusCode]::OK
    Body = $body
})
Deploy the function to Azure once again by clicking the deploy button. This time you only have to accept the 2 previously used settings for Subscription and Function and accept that everything on the existing function gets overwritten. Once deployed, you can invoke your url again and enjoy the result from your module:
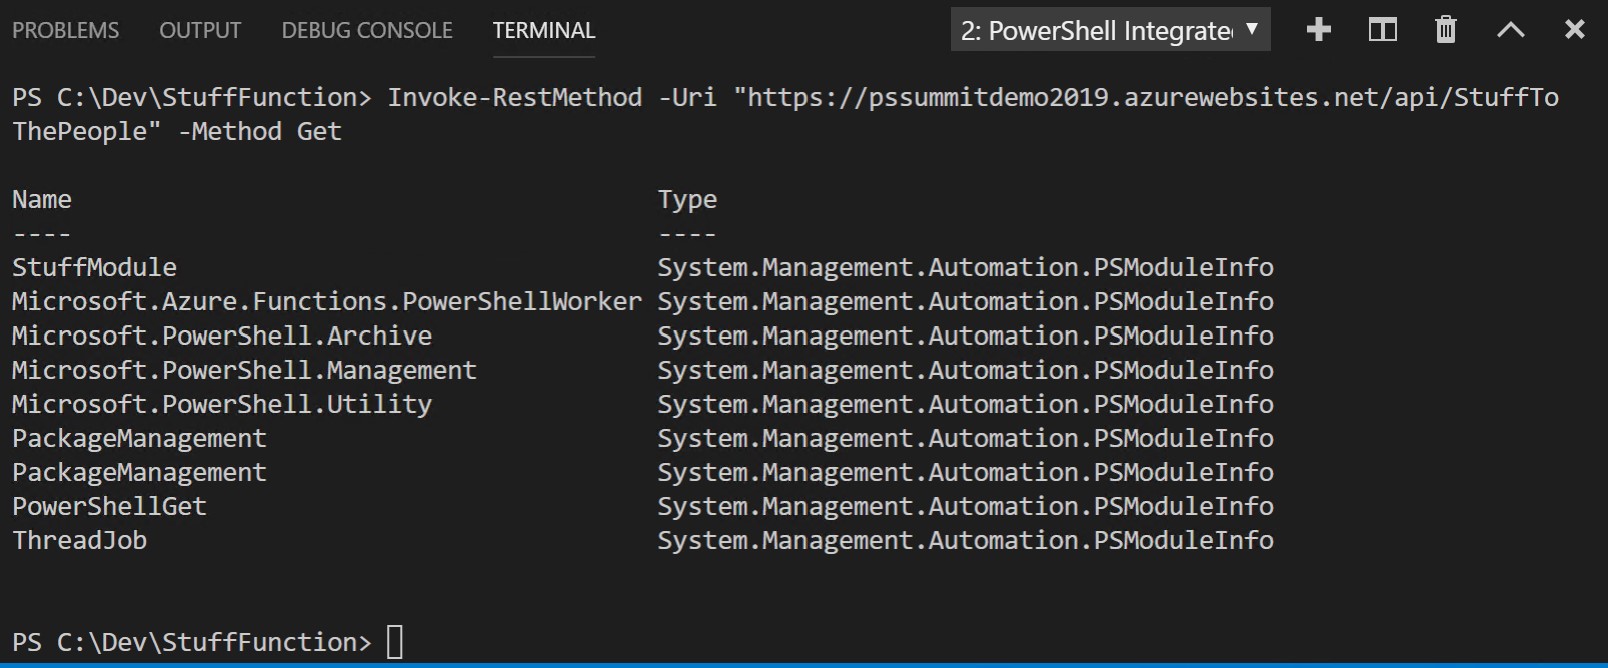
As easy as that!
This walkthrough is meant to be a quick-start on Powershell Azure Functions. All production workloads should be implemented with source control and CI/CD pipelines.