Using Cosmos DB im PowerApps - part 1
Introduction
This holiday I decided to do something else then Powershell. Those who know me would think that impossible, but nontheless I found this little project involving PowerApps, Microsoft Flow and Cosmos DB.
A few months back I made a nice PowerApps app that made reporting on mileage a breeze, the only issue was, that it had an Excel spreadsheet in my OneDrive as datasource. That was really not production-grade, so I decided to switch the datasource to Cosmos DB.
First off I thought this was really easy, just implement the Cosmos DB connector in the PowerApp and off we go. But no, PowerApps cannot handle unstructured data. The PowerApps community was very helpfull, especially Carlos Figueira helped pointing out the inner works of PowerApps and guided me to how the task could be solved.
Implementation
Prerequisites
Basically you need 3 products: PowerApps (the presentation layer), Flow (he transport layer) and CosmosDB (the data layer). You need an Azure Tenant and an Azure Subscription, furthermore you need some sort license to access the PowerApps/Flow goodies.
Cosmos DB
The Cosmos DB part is very easy. Create a resource group and add a Cosmos DB to it. Choose the SQL version.
Create a new database:
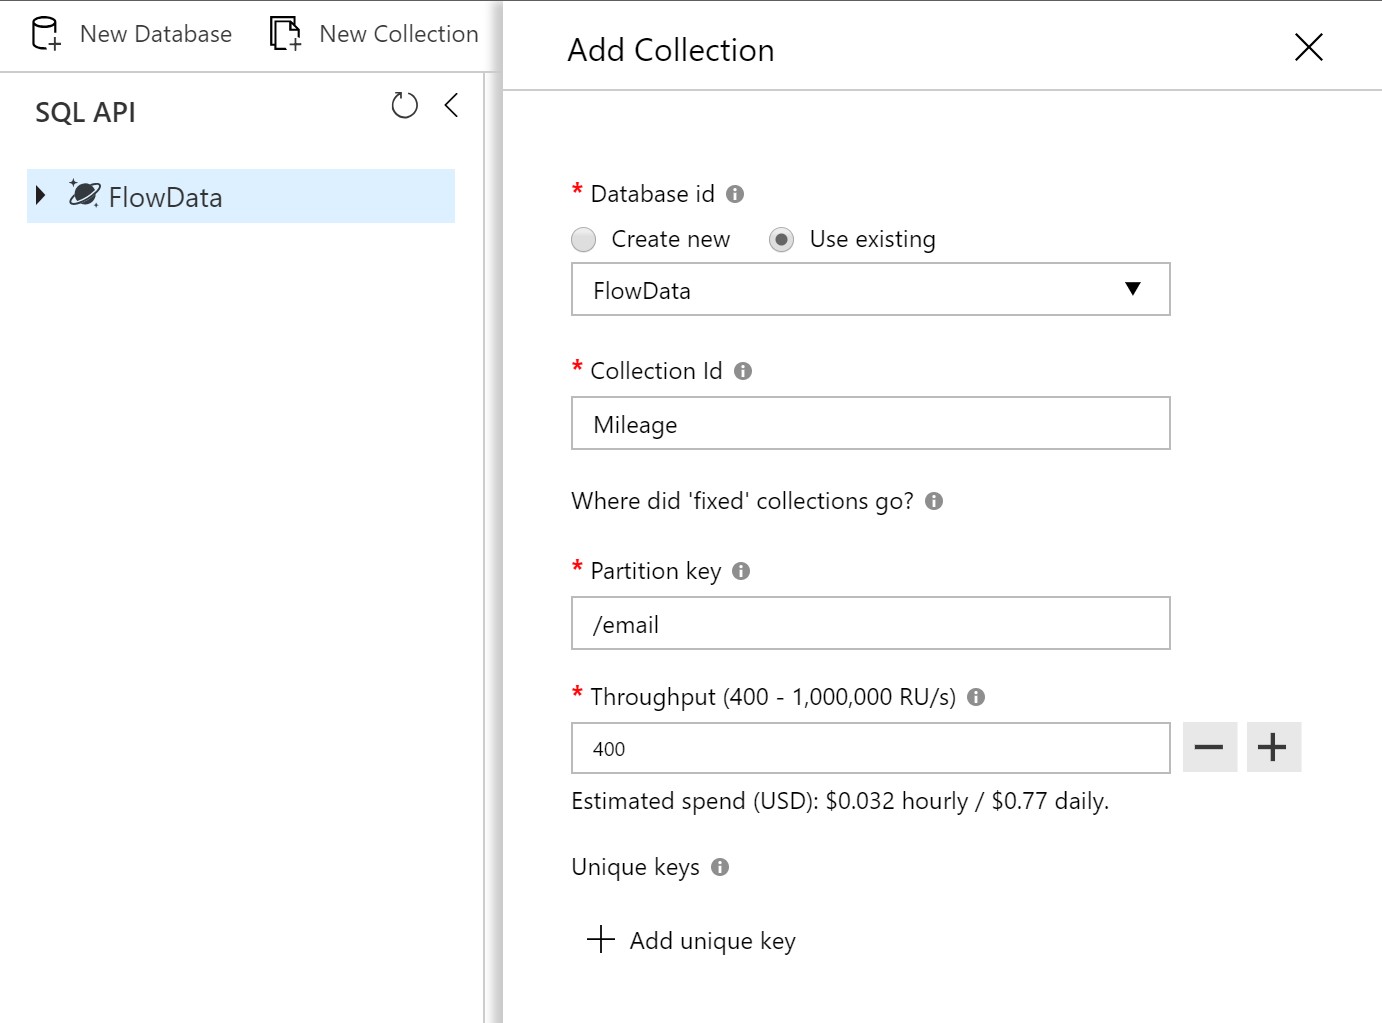
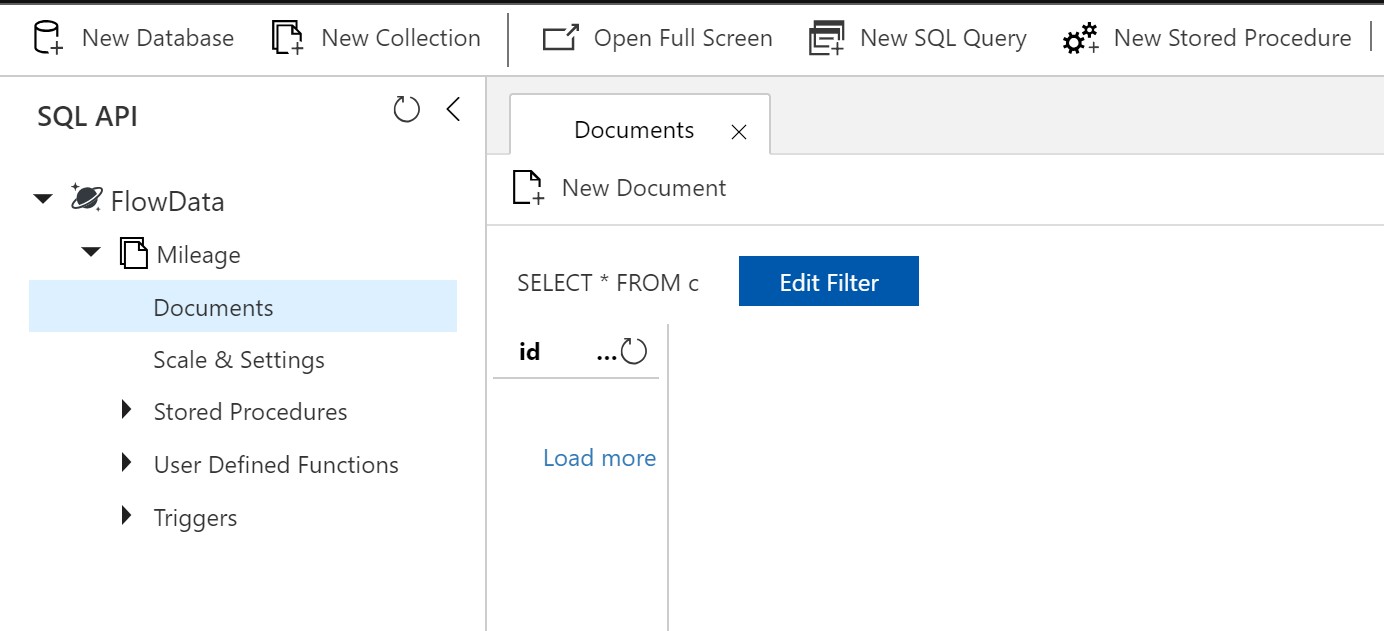
Then you end up with something like this:
 )
)
You will need the Account ID and Access Key later. You can find these under Keys:
 )
)
In this case I will note the following: Account ID: agazothdemo Access Key: <This is not a security blog. Use the primary key and keep it secret!>
Flow
Now you need to create some flows to Add, Update and Delete documents in your Cosmos DB.
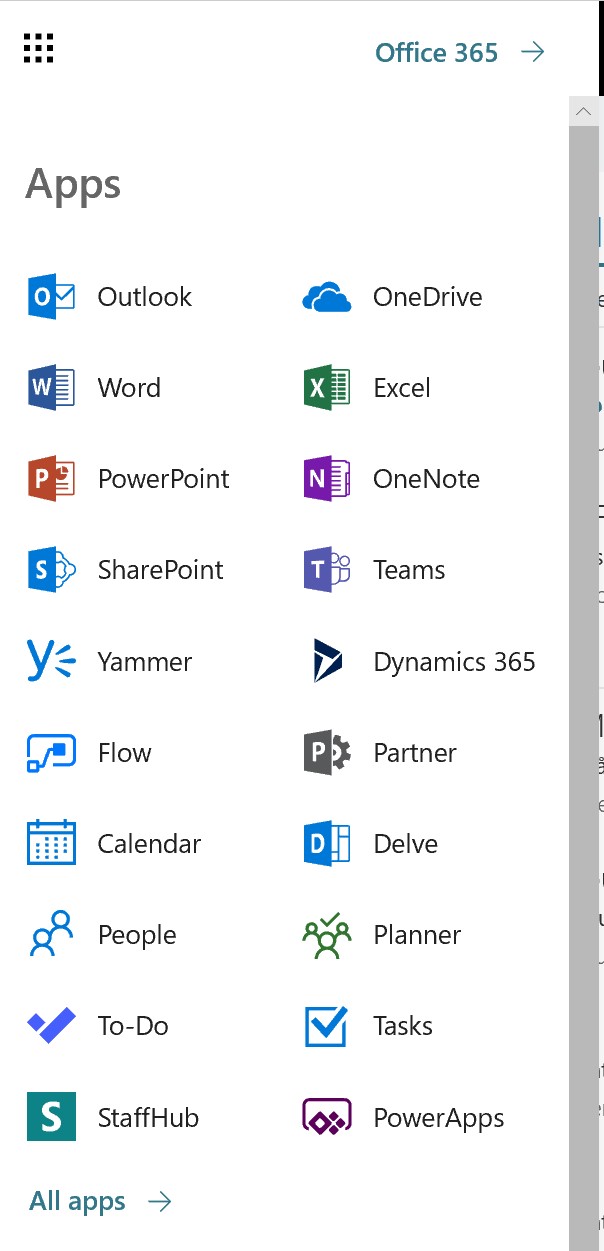
I am a firm believer in OWA (Outlook Web Access) and have not used Outlook in years. In OWA you have the waffle menu containing all the goodies you need:
 )
)
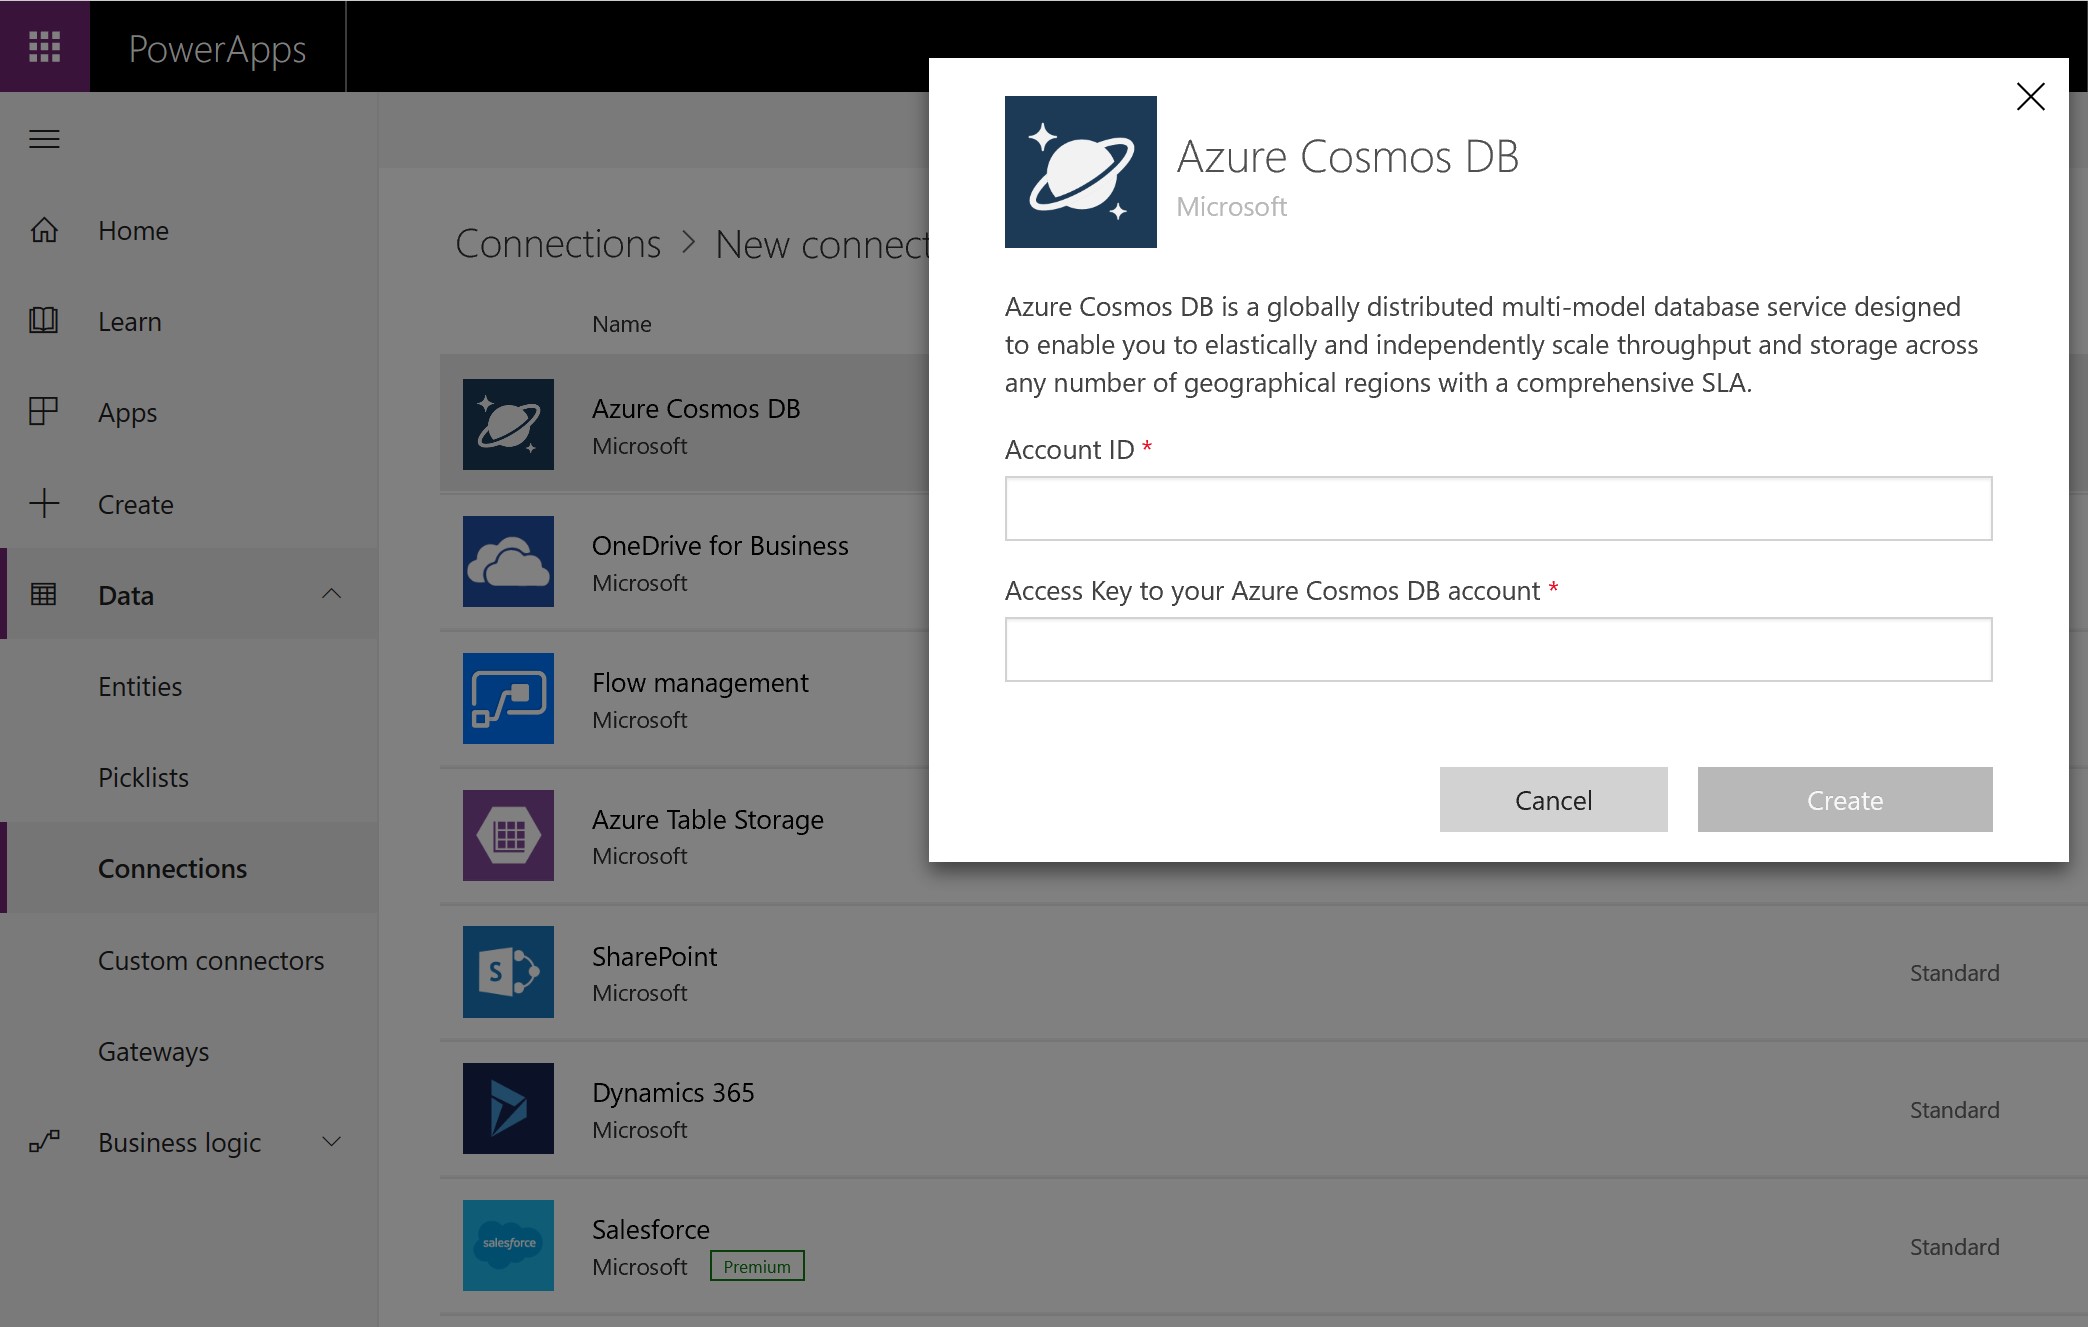
Head on over to your PowerApps from the waffle menu. Under Data->Connections click the little plus sign next to Azure Cosmos DB and fill out the Account ID and Access Key:
 )
)
Now you might want to rename your connection. For some reason this cannot be done at creation time and if you have multiple connections, you might mix them up.
Click on your connection and click on the Edit button. Once again you need to supply the key:

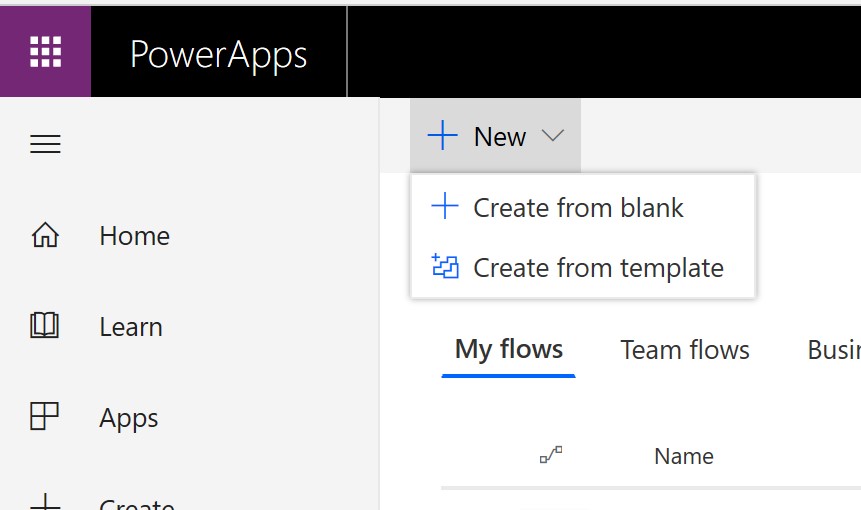
Now go to Flows:
Create a new Flow (Choose Create from blank twice :-)):
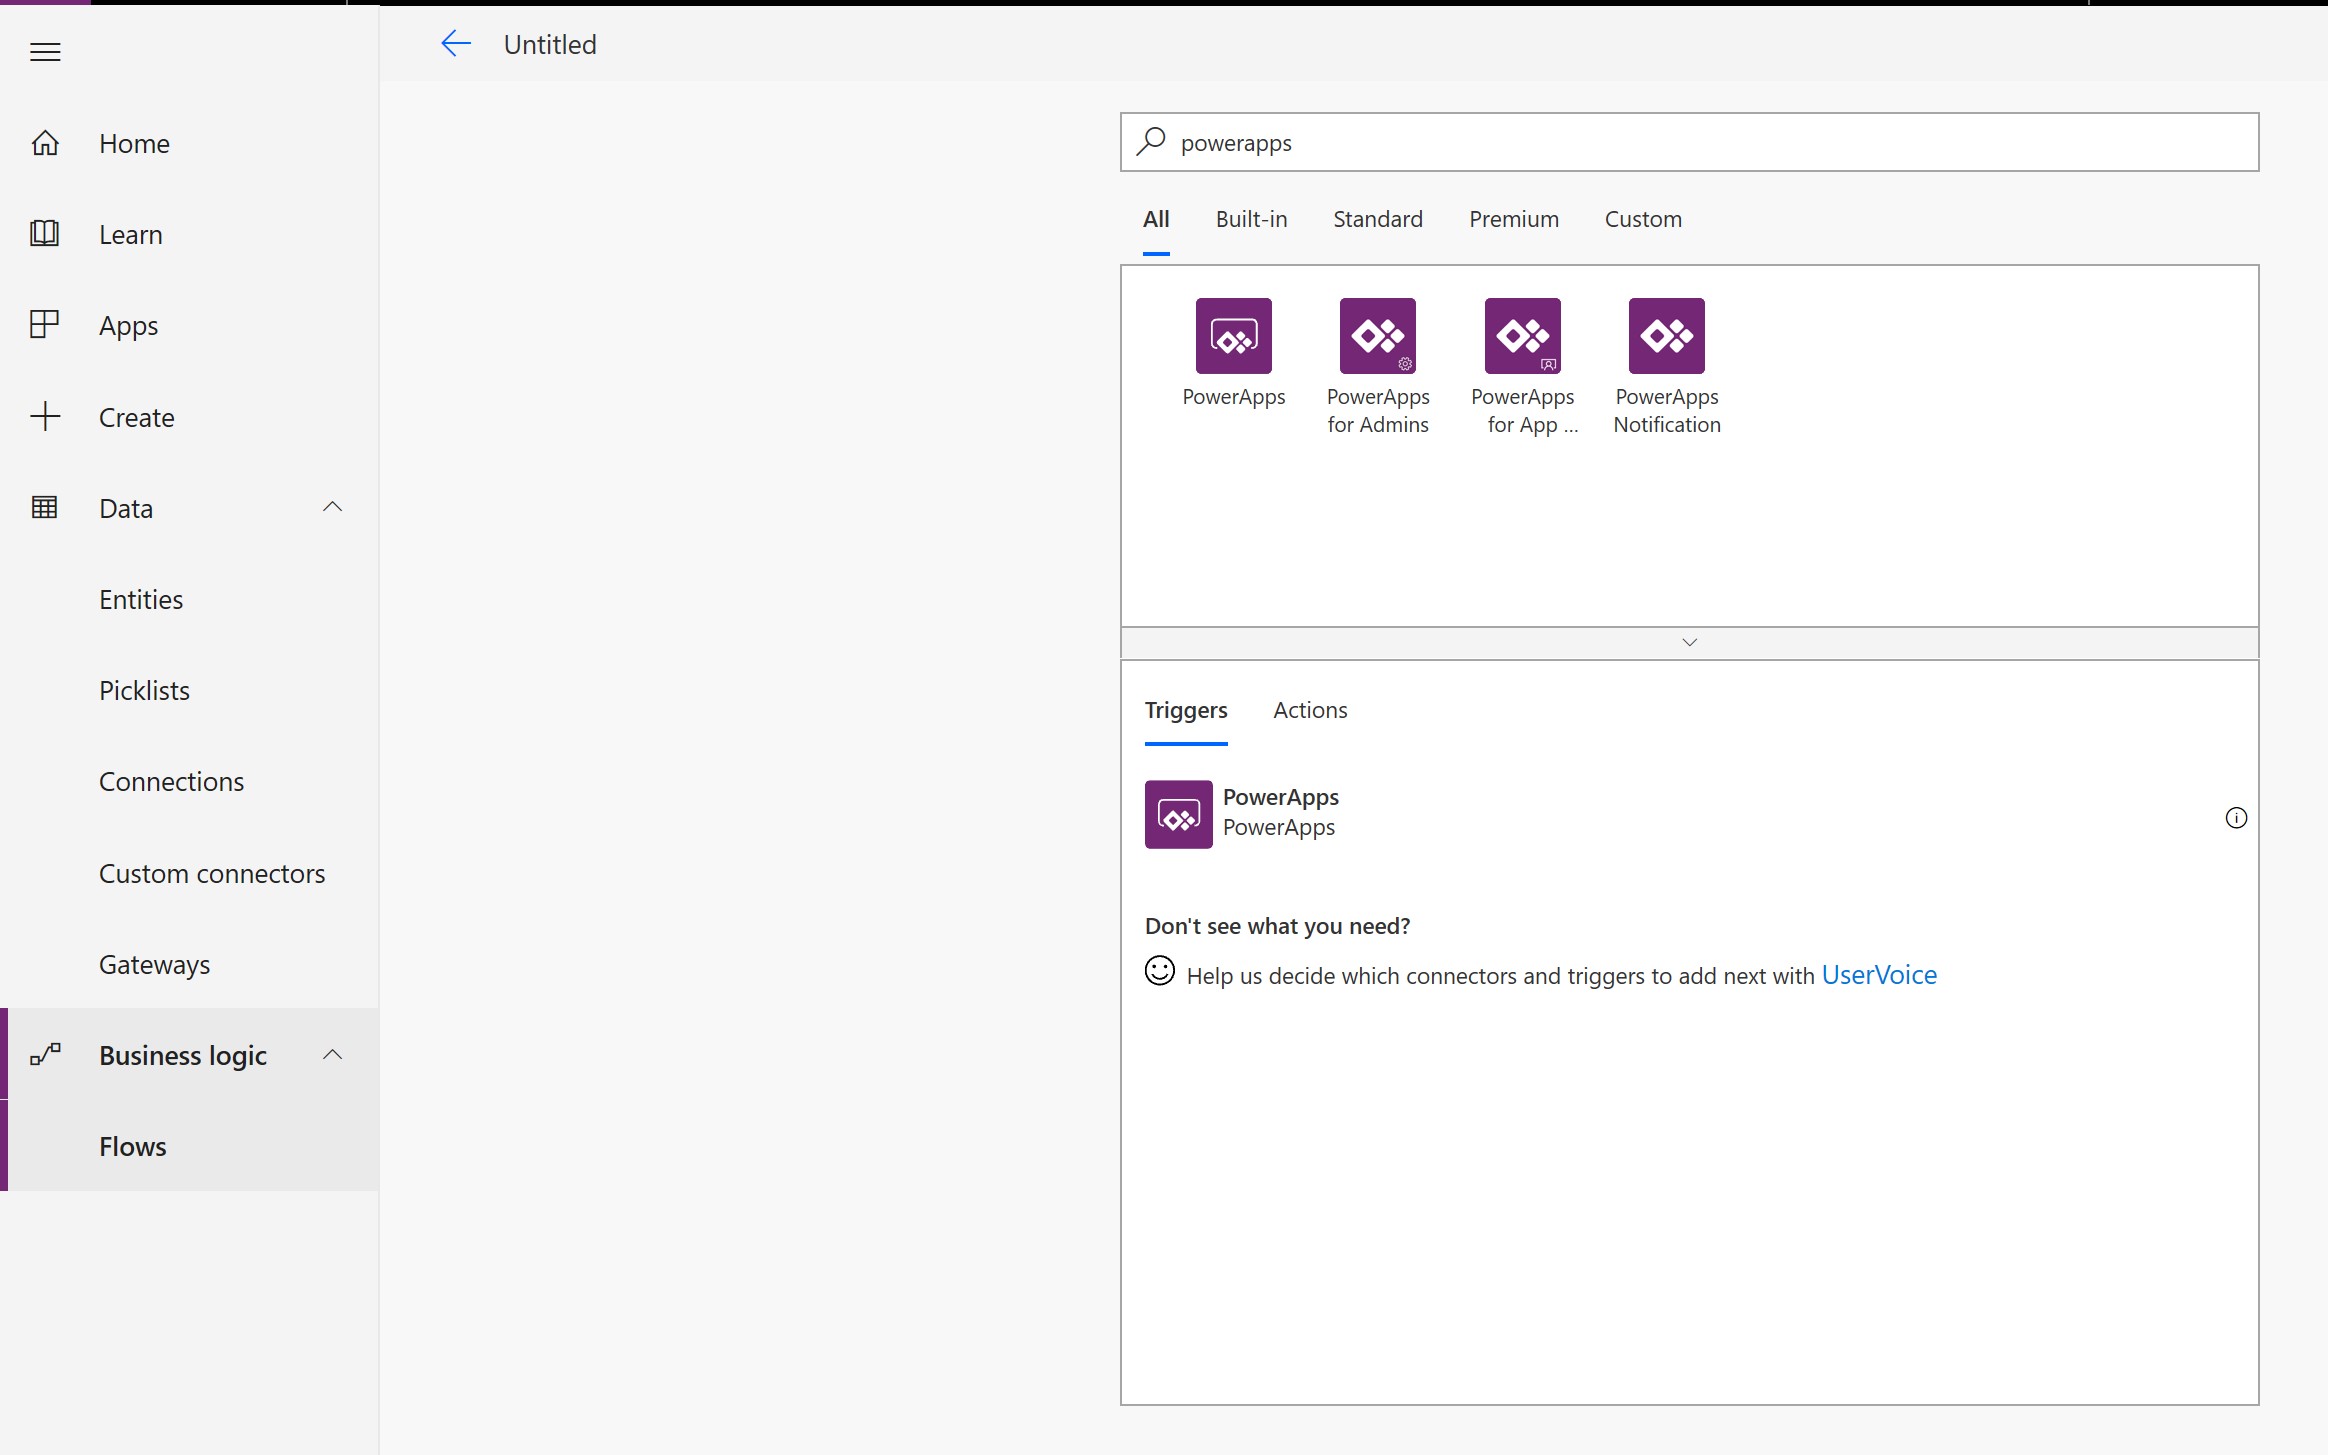
Kick off your Flow with a PowerApp trigger:
Give your Flow a name. This flow is supposed to create a document, so I call it SetCosmosDBDocument:
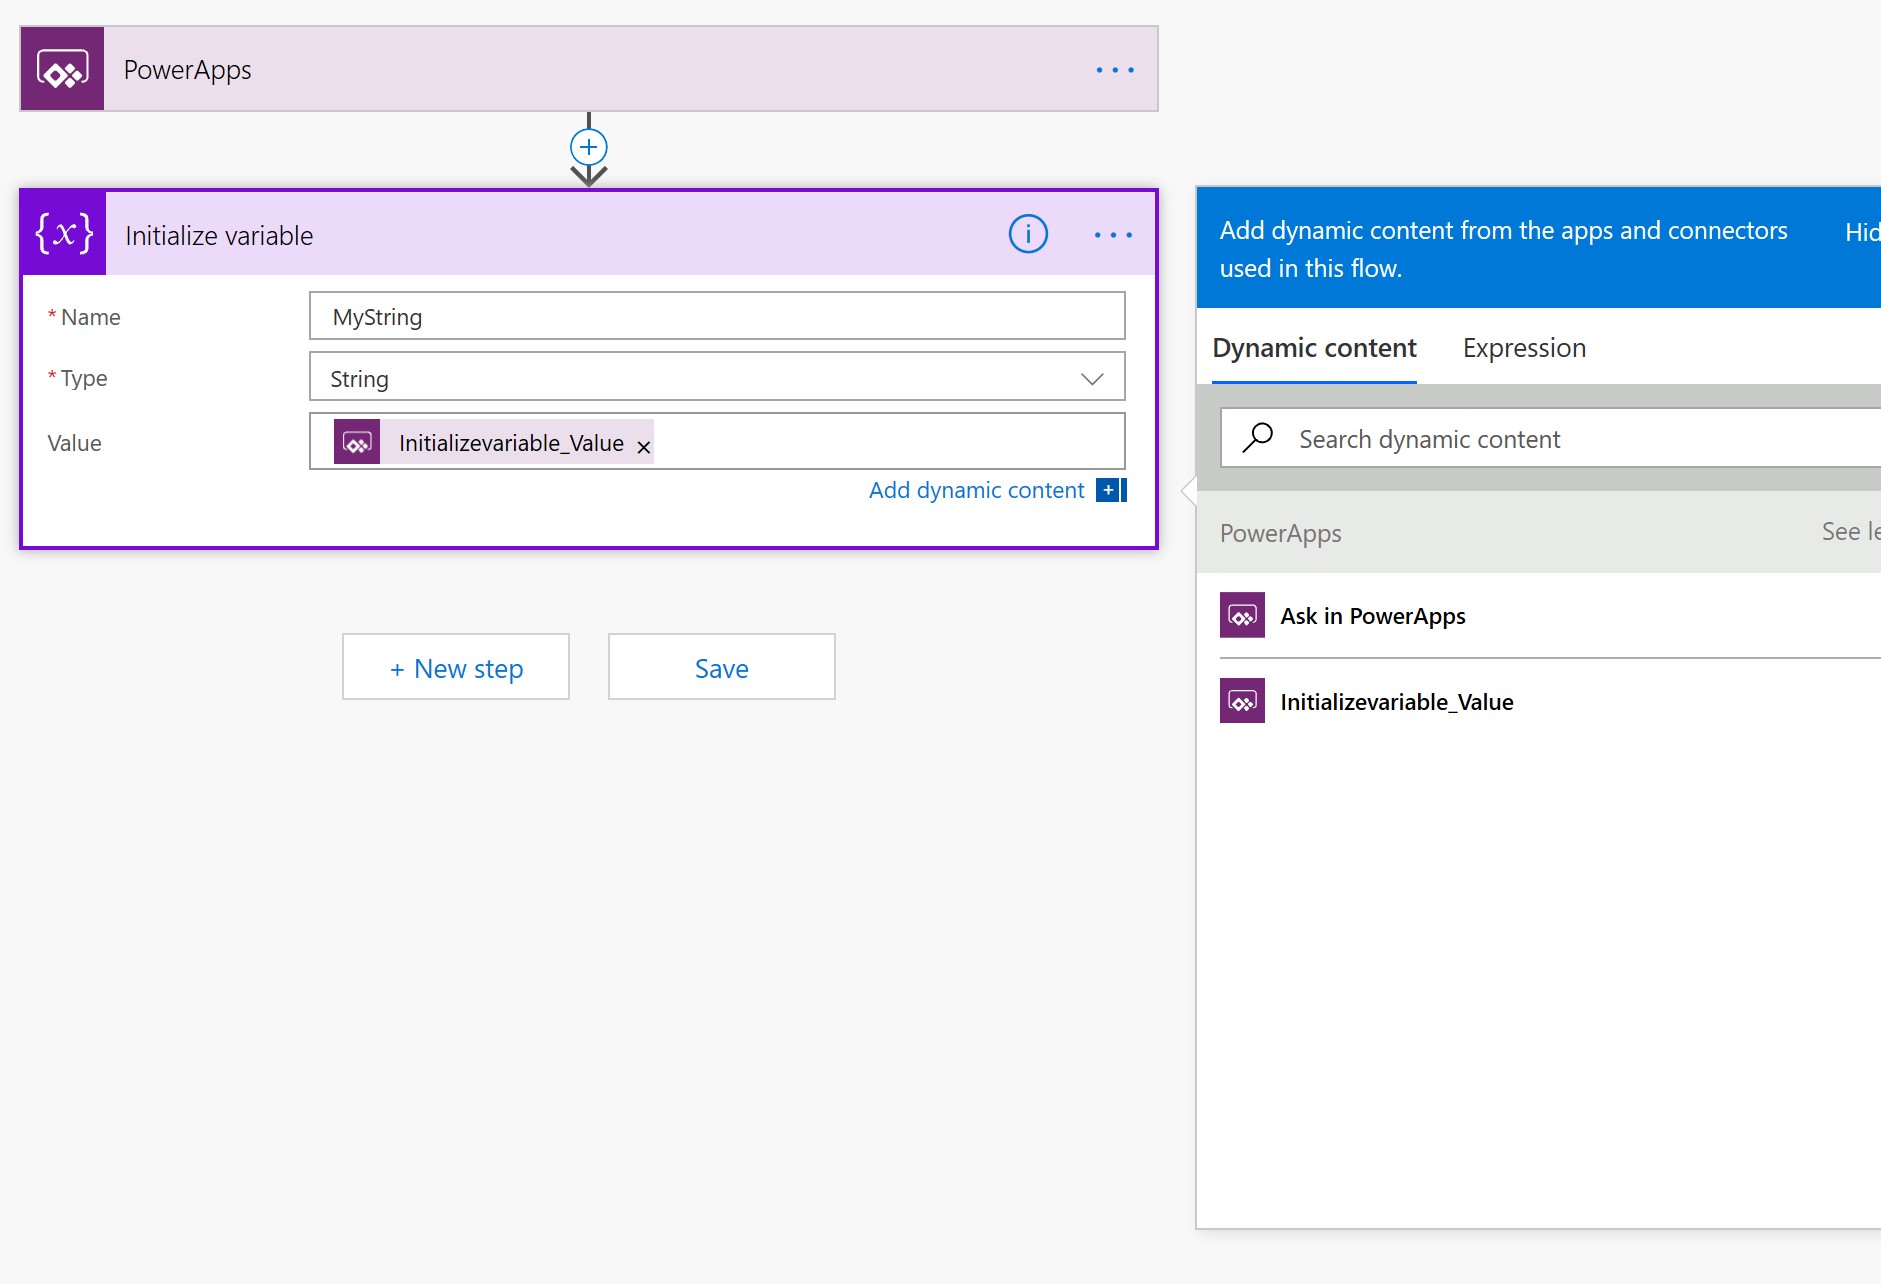
Now comes the tricky part. When running the PowerApp, you need to feed the Flow information. This is done by sending one or more strings to the Flow.
I am very sure that there are many different ways to do this, but during my experiment I found, that sending one single string from the PowerApp to the flow and then handle the string in the Flow to be the easiest and cleanest way to go about this.
You will need some kind of delimiter for this to work. I use the scarab (¤) since I never have any use for that thing anyway and it just sits there om my keyboard laughing at me.
Add a Initialize Variable to your Flow. You need a string variable a cool name and content from the PowerApp (you might need to click “see more” to get the Ask in PowerApps option). Place your curcer in the Value box and click Ask in PowerApps:
Now add a new step. This time you use a Initialize Variable and split the string you collected in the previous step, here you need the scarab:

Now it is time to connect to the Cosmos DB. Add a new step and choose Create or Update Document from Azure Cosmos DB:
Fill in the database connection info - if you cannot find your database in the dropdown, you probably needs to change to the correct connection:
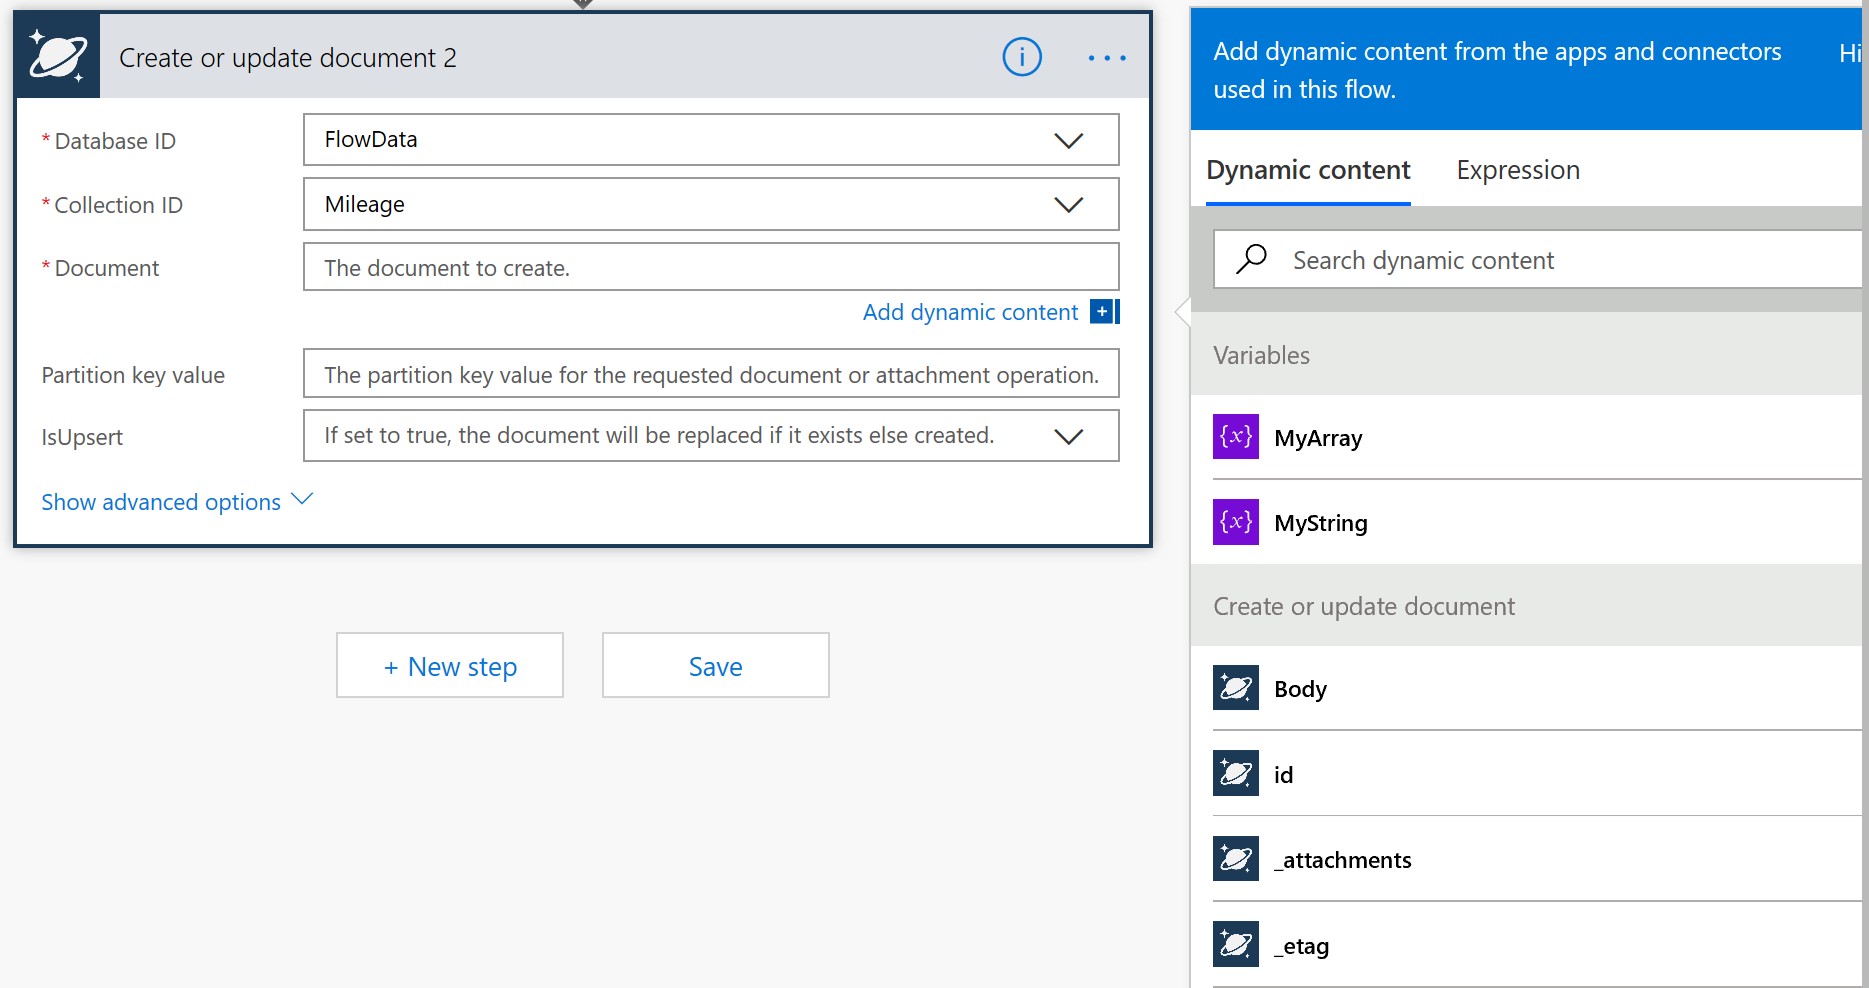
Now update your document JSON with the strings from your array:
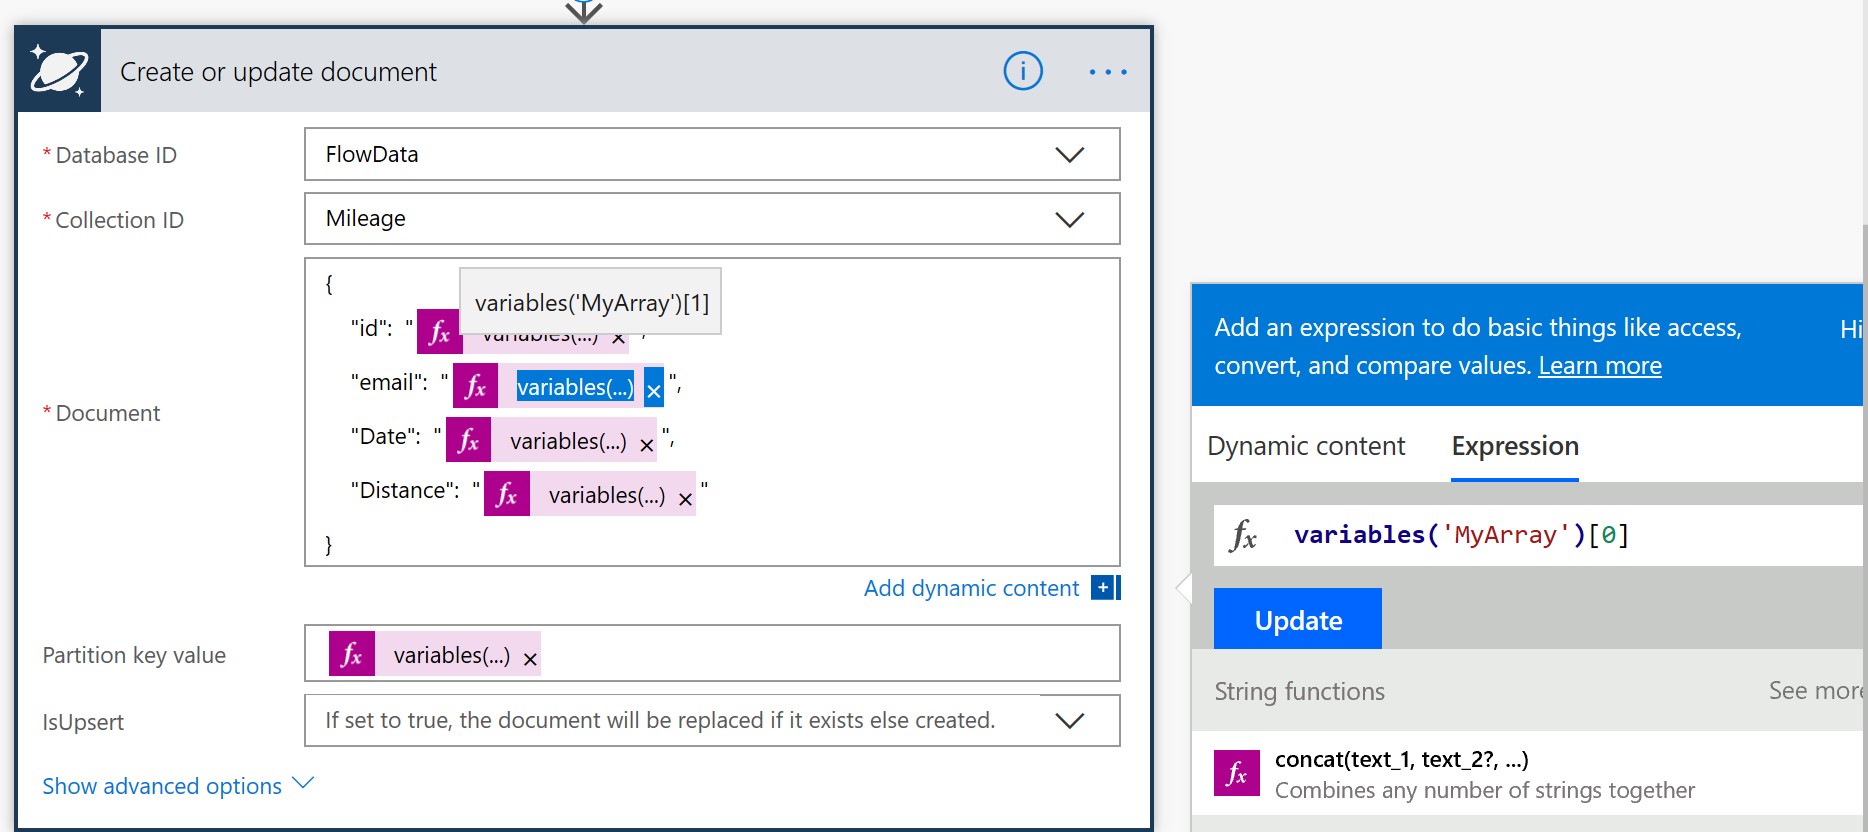
My string is usualy constructed with the elements from this JSON body in the same order as the JSON body, ie. my string in this case is made up of data like this:
id¤email¤Date¤Distance
That gives your array this content:
MyArray[0]: id MyArray[1]: email MyArray[2]: Date MyArray[3]: Distance
As you can see in the image, the Flow GUI is a bit inconsistent when adding strings from the array to the Document body - don’t worry, it will work.
Now save your Flow and test it:
And this is when my experiment went south! Apparently Flow only lets you configure 1 connection. All orher connections fall bact to the first 1 and produces errors.
Conclusion
Unless you have no access to Logic Apps in Azure, which ofcourse everyone with a credit card has, you should absolutely do all your logic in Logic Apps. You still need Flow to breach PowerApps and Logic Apps, since there is no connector to PowerApps in Logic Apps.